
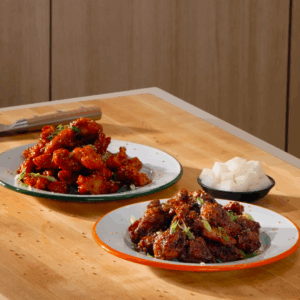
This Korean fried chicken recipe delivers the perfect combination of crunchy, sticky, spicy, and sweet. Each piece is double-fried to create a light crust that stays shatteringly crisp even after it’s tossed in sauce.
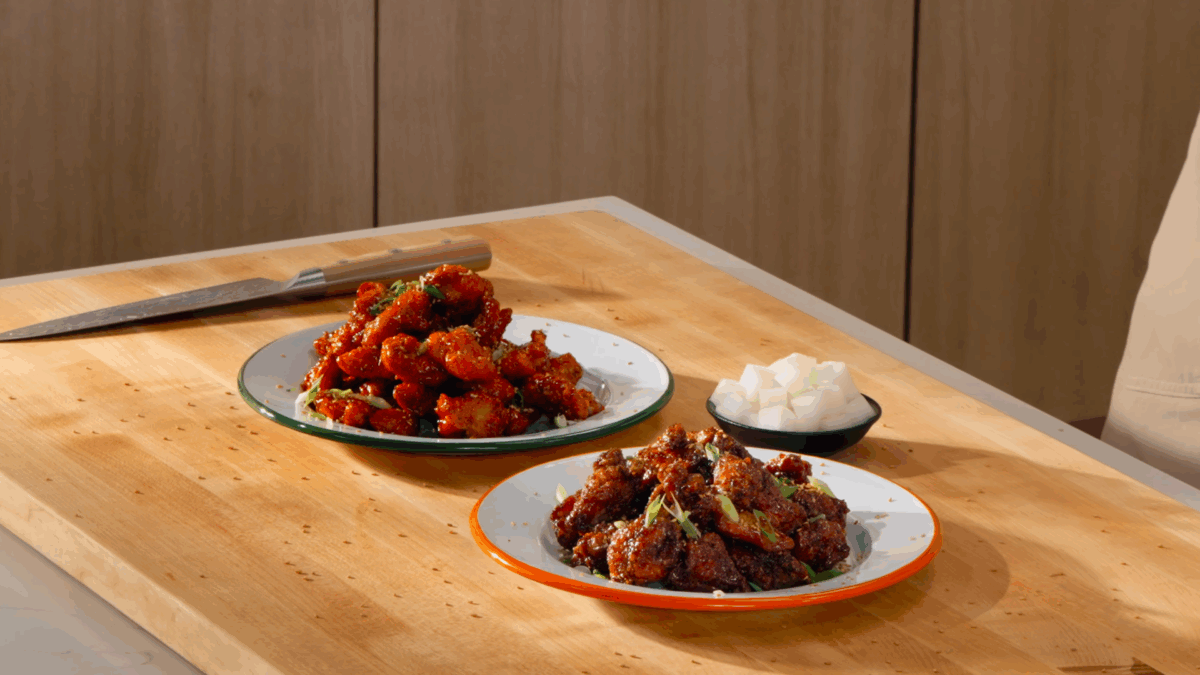
I’ll show you how to make two classic versions at home: spicy yangnyeom chicken coated in a glossy gochujang sauce, and savory soy garlic Korean fried chicken with the perfect balance of sweet, salty, and garlicky flavor. Served with crisp pickled daikon on the side, this Korean-style fried chicken is every bit as good as your favorite restaurant, and maybe even better.
Rotisserie-style chicken is one of my favorite foods, but this Korean fried chicken recipe has quickly become a close second. The double-fry method is the same technique I use for my buffalo chicken wings and buttermilk fried chicken, and is my secret to giving the chicken an incredibly crispy exterior while keeping every bite perfectly juicy.
I also love having two sauces to choose from. The spicy yangnyeom packs plenty of heat, while the soy garlic version is rich, savory, and just a little sweet. No matter which one you choose, don’t skip the pickled daikon. It adds the perfect fresh, tangy crunch that balances every bite.
Finished with a sprinkle of white sesame seeds and sliced scallions, this chicken looks like it came straight from a restaurant and is perfect for family dinners, game days, and special celebrations.
Ingredients and Notes
See the recipe card below for the complete ingredient list and instructions.
- Chicken – Boneless, skinless chicken thighs are my favorite for Korean fried chicken because they stay juicy during the double-frying process and are much more forgiving than chicken breasts.
- Marinade – A simple mixture of rice wine, garlic, ginger, salt, and black pepper tenderizes the chicken while adding subtle flavor. If you don’t have rice wine, substitute apple juice with a splash of rice vinegar for a similar taste.
- Pickled Daikon – I make a simple quick pickle by combining daikon radish with water, rice vinegar, sugar, and salt. These quick pickles provide a crisp, sweet, and tangy contrast that cuts through the richness of the fried chicken. They’re a classic accompaniment for a reason and definitely shouldn’t be skipped.
- Yangnyeom Sauce – Made with gochujang, rice syrup, ketchup, garlic, soy sauce, and rice vinegar, this sauce is sweet, spicy, tangy, and wonderfully sticky. If you don’t have rice syrup, honey also works well. Don’t substitute brown sugar, or the sauce is likely to be grainy.
- Ganjang Sauce – My soy garlic sauce combines soy sauce, plenty of garlic cloves, rice syrup, mirin, and sesame oil for a rich, savory glaze that’s slightly sweet and packed with umami flavor.
- Potato Starch – This is the secret to authentic Korean-style fried chicken. Potato starch creates an incredibly light, shatteringly crisp coating that stays crunchy longer than chicken coated with flour, tapioca starch, or cornstarch.
- Neutral Oil – Use an oil with a high smoke point, such as vegetable oil, canola, peanut, or avocado oil, for frying.
- Garnishes – I finish the chicken with toasted white sesame seeds and sliced scallions for fresh flavor, color, and a little crunch.
How to Make Korean Fried Chicken
1. Prepare the Components
2. Bread and Fry the Chicken
Nick’s Tips for Success
- Cut the chicken into uniform pieces. Keeping the pieces about one to two bites in size helps them cook evenly and gives you consistent results.
- Don’t skip patting the chicken dry. Removing excess moisture before dredging helps the potato starch stick better and creates a crispier crust.
- Let the chicken rest between fries. Resting for at least ten minutes allows excess moisture to escape, making the second fry even crispier.
- Monitor your oil temperature. Fry at 300°F (149°C) for the first cook and 350°F (177°C) for the second. A thermometer is the easiest way to keep the temperature consistent.
- Fry in small batches. Overcrowding the pot lowers the oil temperature, which can leave you with greasy instead of crispy chicken.
- Toss just before serving. Coat the chicken with the sauce right before eating so the crust stays as crisp as possible.
- Don’t skip the pickled daikon. The sweet, tangy crunch balances the richness of the fried chicken and refreshes your palate between bites.
Korean Fried Chicken Recipe (2 Ways)
Equipment
- 1 Large Mixing Bowl
- 1 Medium Heatproof Bowl
- 2 Small Saucepans
- 1 Medium Saucepan
- 1 Dutch Oven or Heavy-Bottomed Pot
- 1 Instant-Read or Deep-Fry Thermometer
- 1 Wire Cooling Rack
- 1 Baking Sheet
- Tongs or Spider Strainer
- 1 Whisk
Ingredients
For the Marinade
- ¼ cup (60 milliliter) rice wine, soju, mirin, or cheongju
- 3 clove garlic, smashed
- 1 teaspoon (5 gram) fresh ginger, grated
- 2 teaspoon (12 gram) kosher salt
- ½ teaspoon (1 gram) black pepper
For the Chicken
- 4 pound (1.8 kilogram) boneless, skinless chicken thigh
For the Pickled Daikon
- 1 large, about 1½ pound / 680 gram daikon radish, peeled and cut into ½-inch cubes
- 1 cup (240 milliliter) water
- ½ cup (120 milliliter) rice vinegar
- ¼ cup (50 gram) granulated sugar
- 1 tablespoon (18 gram) kosher salt
For the Yangnyeom (Spicy Gochujang Sauce)
- 2 tablespoon (36 gram) gochujang
- 1-2 tablespoon (12-25 gram) granulated sugar
- 2 tablespoon (40 gram) rice syrup
- 1 tablespoon (15 gram) ketchup
- 1 tablespoon (15 milliliter) soy sauce
- 1 tablespoon (8 gram) garlic, minced
- 1 tablespoon (15 milliliter) rice vinegar
- 1 teaspoon (2 gram) gochugaru, optional
- 1 teaspoon (5 milliliter) toasted sesame oil
For the Ganjang (Soy Garlic Sauce)
- 6 clove (18 gram) garlic, minced
- 2 teaspoon (10 milliliter) toasted sesame oil
- ⅓ cup (80 milliliter) soy sauce
- 2-3 tablespoon (25-38 gram) granulated sugar
- ¼ cup (80 gram) rice syrup , or honey
- 2 tablespoon (30 milliliter) mirin
For Frying
- neutral oil, vegetable or canola, as needed for deep frying
For the Coating
- 1 cup (160 gram) potato starch
For Garnish
- white sesame seeds
- scallion, sliced
Instructions
For the Chicken and Marinade
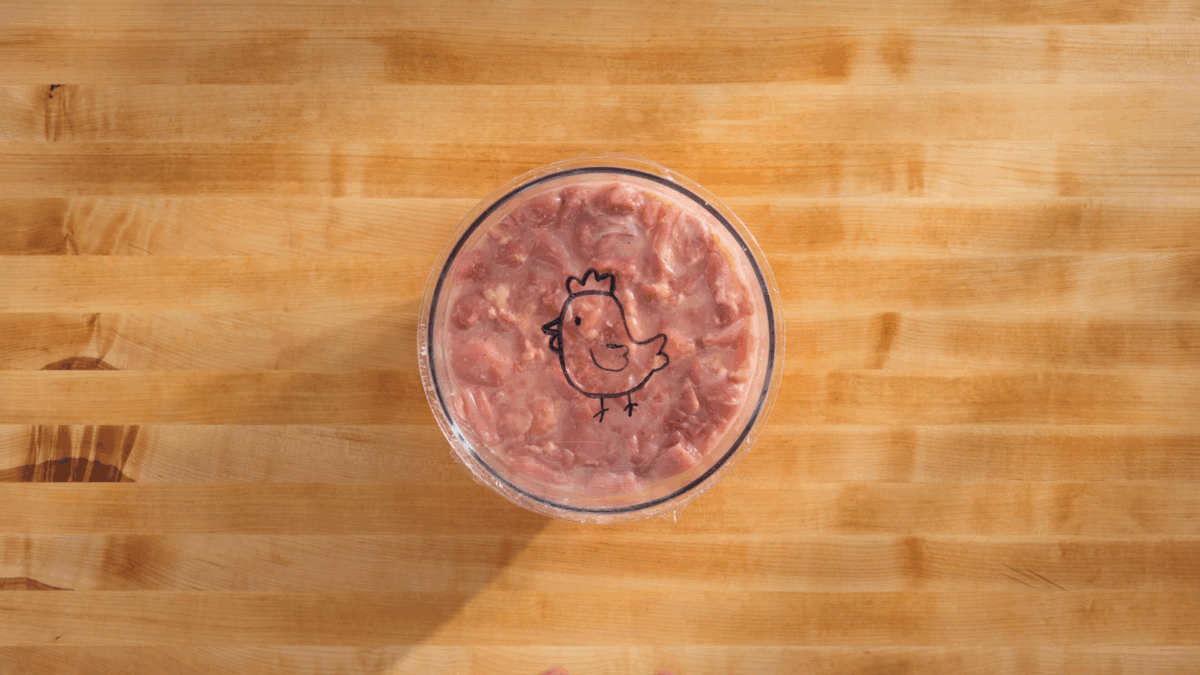
- In a medium bowl, combine the rice wine, garlic, ginger, salt, and pepper. Set aside.¼ cup rice wine, 3 clove garlic, 1 teaspoon fresh ginger, 2 teaspoon kosher salt, ½ teaspoon black pepper
- Cut the chicken into uniform, bite-sized pieces, about one to two bites each. Pat dry with paper towels.4 pound boneless, skinless chicken thigh
- Add the chicken to the marinade, mix well, and let it marinate at room temperature for 30-60 minutes.
For the Pickled Daikon
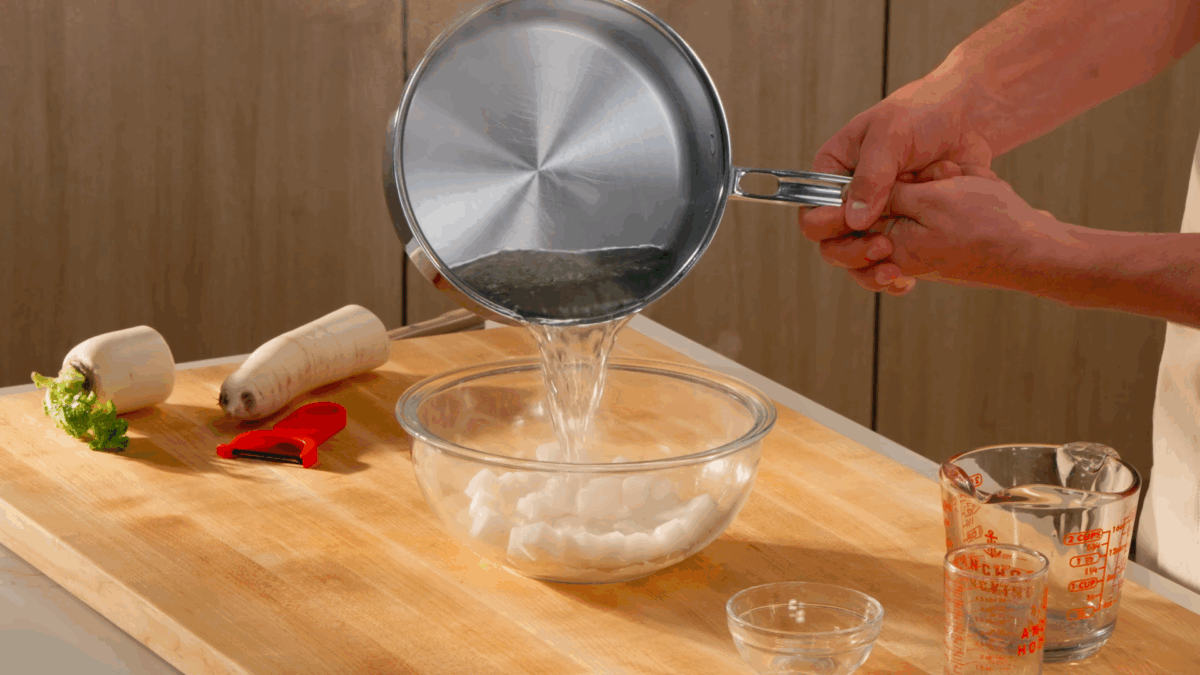
- Peel and cut the daikon radish into ½-inch cubes. This should yield about two cups. Transfer the daikon to a heatproof bowl.1 large
- In a medium saucepan, combine the water, rice vinegar, sugar, and salt. Heat over medium heat until the sugar and salt dissolve.1 cup water, ½ cup rice vinegar, ¼ cup granulated sugar, 1 tablespoon kosher salt
- Pour the hot liquid over the daikon.
- Let cool, then refrigerate for at least two hours.
For the Sauces
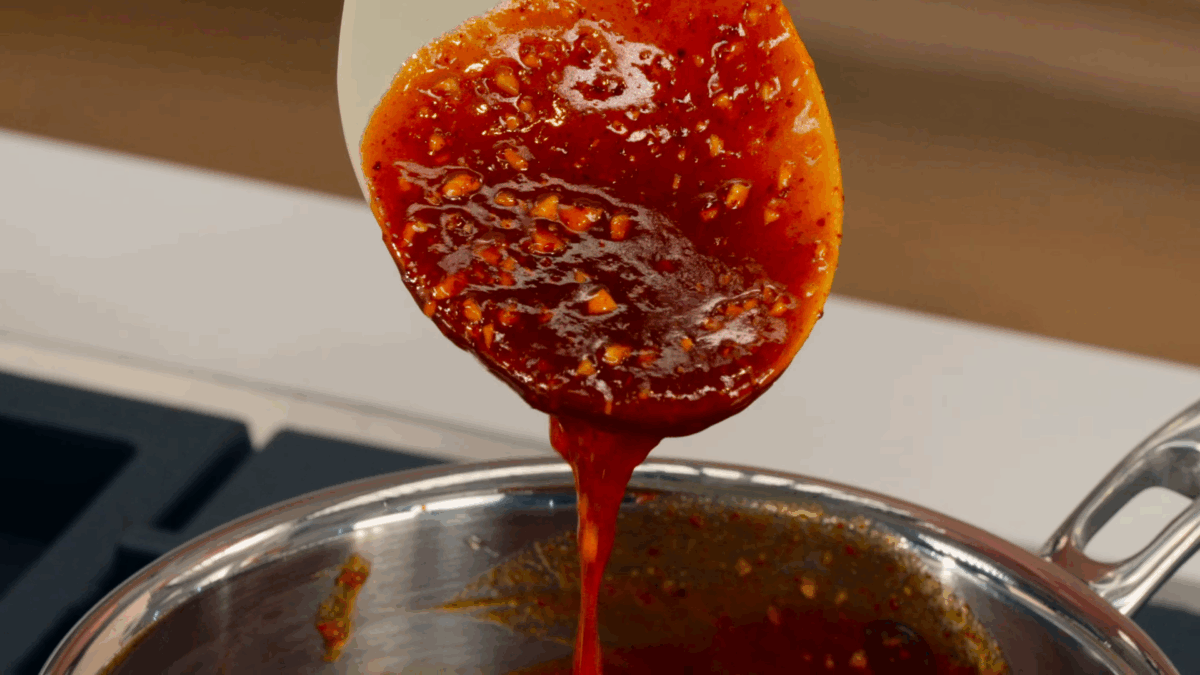
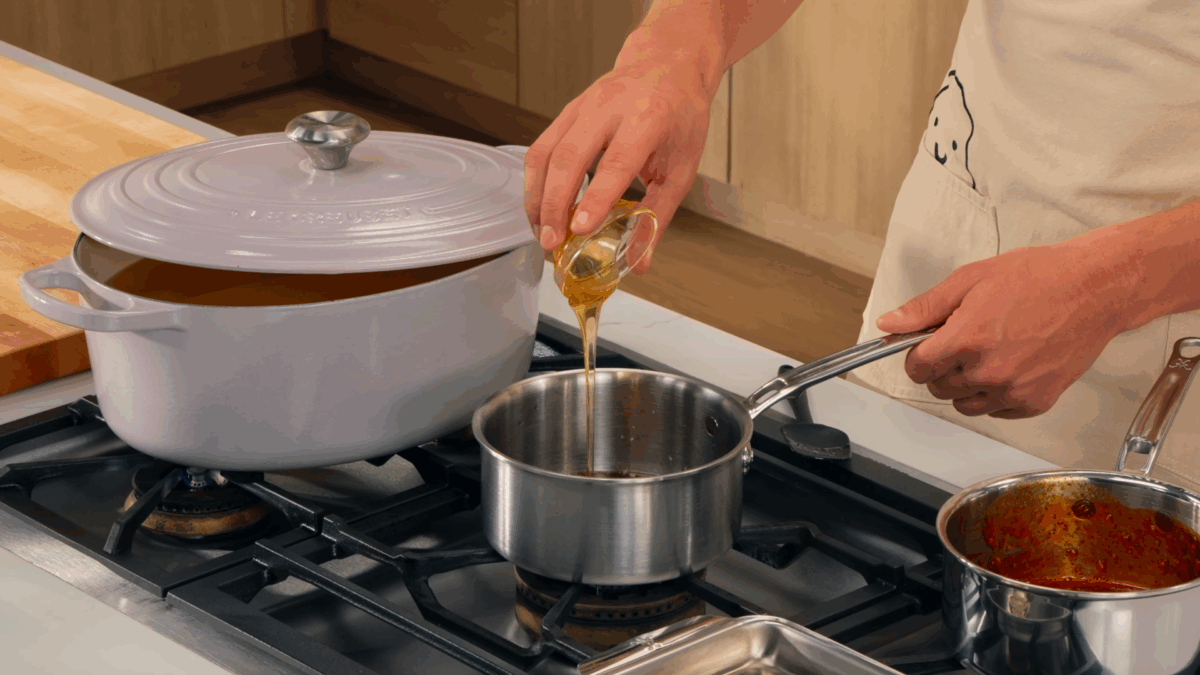
- Yangnyeom: Combine all the ingredients in a small saucepan, adjusting the sugar to your preference. Simmer over medium heat until slightly thickened and glossy, about six to seven minutes. Taste and adjust the salt and sugar as needed. Whisk in the toasted sesame oil and keep warm.2 tablespoon gochujang, 1-2 tablespoon granulated sugar, 2 tablespoon rice syrup, 1 tablespoon ketchup, 1 tablespoon soy sauce, 1 tablespoon garlic, 1 tablespoon rice vinegar, 1 teaspoon gochugaru, 1 teaspoon toasted sesame oil
- Soy Garlic: In a small saucepan, combine the garlic and sesame oil. Cook over low heat for five to seven minutes to gently bloom the garlic. Add the remaining ingredients, adjusting the sugar to your preference. Simmer over medium heat until slightly thickened and glossy, about eight to nine minutes. Taste and adjust the salt and sugar as needed. Finish with additional toasted sesame oil, if desired. Keep warm.6 clove garlic, 2 teaspoon toasted sesame oil, ⅓ cup soy sauce, 2-3 tablespoon granulated sugar, ¼ cup rice syrup, 2 tablespoon mirin
For the Dredge and Fry
- In a large Dutch oven, heat neutral oil to 300°F (149°C).neutral oil
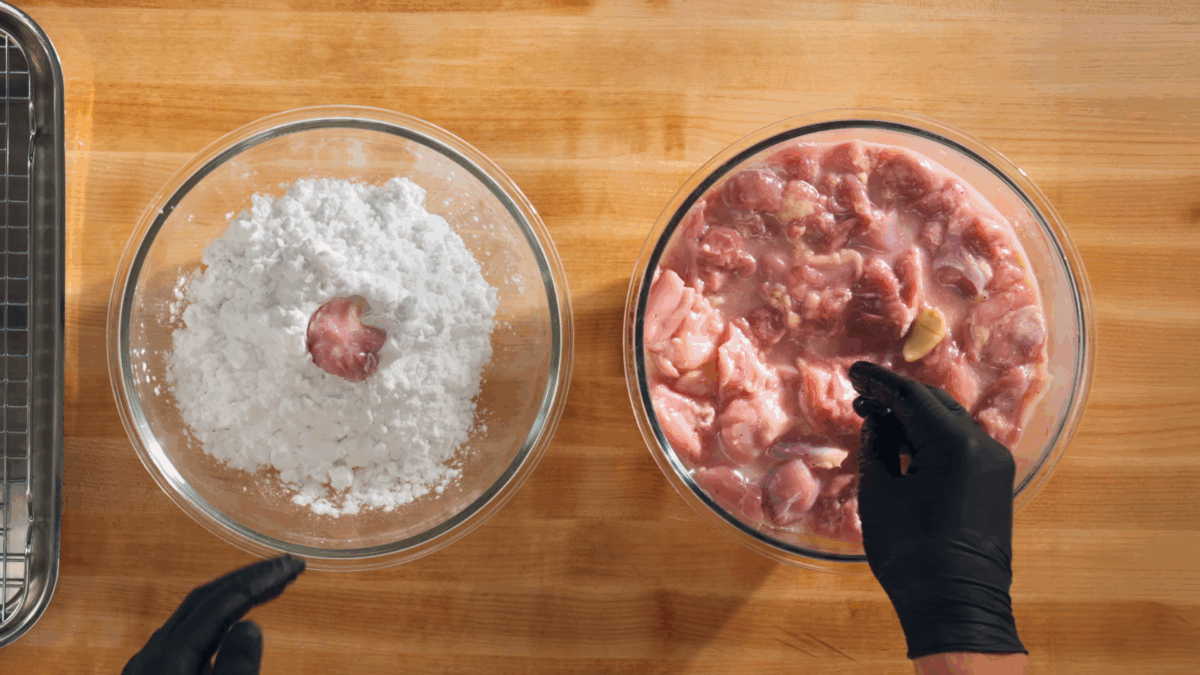
- Place the potato starch in a medium bowl. Remove the chicken from the marinade and lightly dredge each piece in the potato starch.1 cup potato starch
- Shake off the excess. The coating should be thin and even. Place the chicken on a wire rack and let it dry slightly, about five minutes.
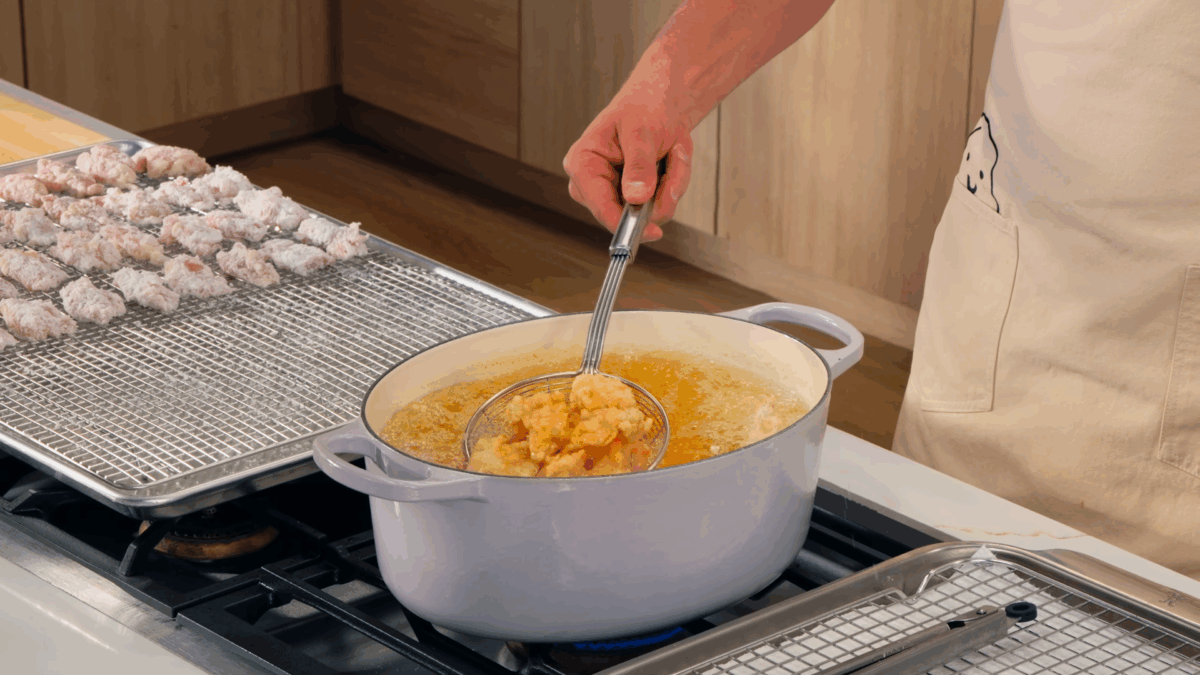
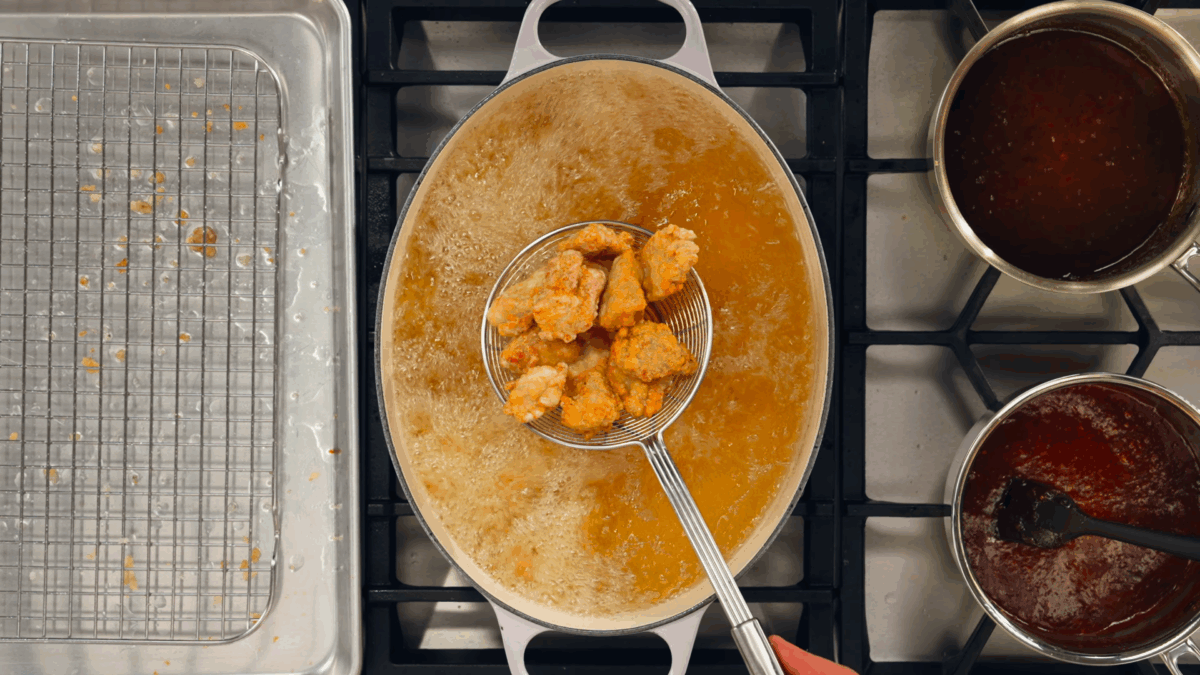
- Fry the chicken in batches for six to eight minutes, until cooked through but still pale in color.
- Remove and drain on a wire rack lined with paper towels.
- Let the chicken rest for at least ten minutes and up to 30 minutes.
- Increase the oil temperature to 350°F (177°C).
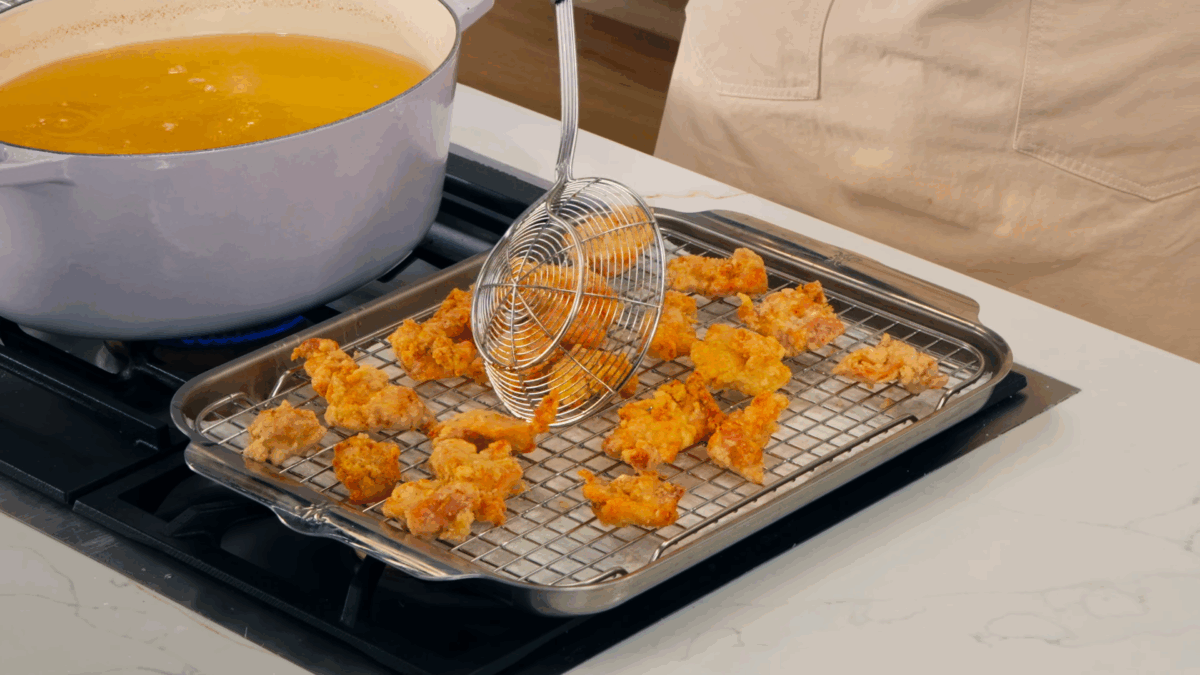
- Fry the chicken again for one to two minutes, until golden brown and crisp.
- Drain on a wire rack lined with fresh paper towels.
For Plating
- Divide the chicken into two portions.
- Toss each batch with its sauce until evenly coated.
- Transfer to a serving plate or basket.
- Garnish with toasted white sesame seeds and sliced scallions.white sesame seeds, scallion
- Serve immediately with the pickled daikon.
Video

Notes
– Refrigerator: Store leftover chicken in an airtight container in the refrigerator for up to three days. Store the pickled daikon separately in its brine for up to two weeks.
– Reheating: For the crispiest results, reheat the chicken in a 400°F (204°C) oven or air fryer for eight to ten minutes, or until heated through. Avoid microwaving, as it softens the coating.
– Freezing: Freeze the fried unsauced chicken in a freezer-safe container for up to two months. Thaw overnight in the refrigerator, reheat until crispy, and toss with freshly made sauce before serving.
Nutrition
Nutrition information is automatically calculated, so should only be used as an approximation.
 Like this recipe? Rate & comment below!


My family couldn’t decide which sauce we liked best. We’ll definitely be making this again!