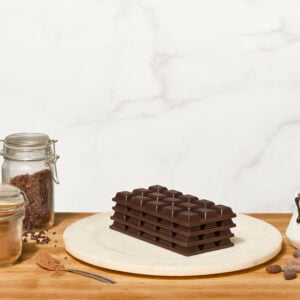
Learn how to make homemade chocolate bars from scratch! In this guide, I’ll walk you through every step from breaking down cacao pods and fermenting the beans to drying, winnowing, grinding, tempering, and finally molding your own rich, chocolate bars for a delicious treat.
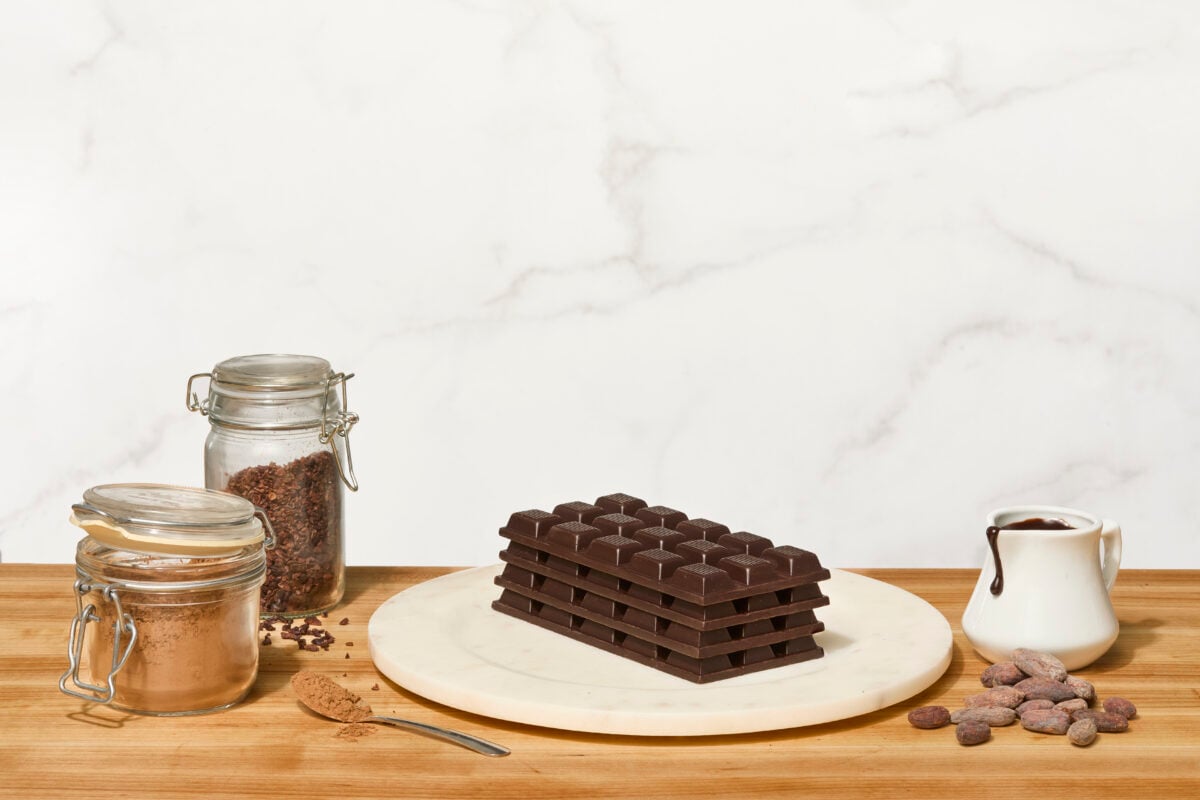
Table of Contents
I’ve worked with a lot of chocolate in my career, learning how to make chocolate from scratch, testing 50 different ways to use chocolate, and even making the world’s largest chocolate bar. It’s one of my favorite foods, and there’s something so rewarding about transforming raw cacao pods into chocolate without relying on any artificial ingredients.
If I’m being honest, this isn’t your everyday kitchen recipe. Most people aren’t going to ferment and process cacao beans at home, but that’s exactly why I wanted to share it.
Whether you’re looking for a fun (and ambitious) kitchen project or you’re simply curious about how chocolate is made before it ever hits store shelves, this guide gives you a behind-the-scenes look at the full bean-to-bar process and a whole new appreciation for every bite!
Ingredients and Notes
See the recipe card below for the complete ingredient list and instructions.
- Cacao Pods – Fresh cacao pods are the starting point for true bean-to-bar chocolate. Inside, you’ll find cacao beans surrounded by a sweet, sticky pulp. These beans are fermented, dried, roasted, and ground to create chocolate. If you don’t have access to whole cacao pods, you can substitute with high-quality cacao nibs to skip the fermentation and drying steps. Just note that nibs have already been fermented and roasted.
- Organic Cane Sugar – This adds sweetness, balancing the bitterness of the cacao. I break the sugar down into a powdered sugar consistency. However, it’s important not to use pre-made powdered sugar, because it contains other ingredients that will impact the taste and texture of your homemade chocolate.
- Cocoa Butter (or Cacao Butter) – This is natural fat from cacao beans and is essential for creating a smooth, glossy chocolate bar with a signature snap.
How to Make a Homemade Chocolate Bar from Scratch
1. Ferment the Cacao
2. Dry and Sort the Beans
3. Roast, Winnow, and Grind
4. Temper the Homemade Chocolate
5. Mold and Enjoy
Possible Variations
- Extra Dark Chocolate: Reduce the sugar for a richer, more intense chocolate (85-90%).
- Milder Dark Chocolate: Increase the sugar slightly for a smoother, less bitter flavor (60-65%).
- Milk Chocolate: Add milk powder during the refining stage for a creamier, sweeter chocolate. You may also want to increase the cocoa butter slightly to maintain a smooth texture.
- White Chocolate: Skip the cocoa liquor entirely, and use cocoa butter, sugar, and milk powder to create a creamy white chocolate base. This variation doesn’t include cocoa solids, giving it a lighter color and flavor.
- Coconut Oil Chocolate (Simplified Version): For a softer, more beginner-friendly option, replace part of the cocoa butter with coconut oil. This creates a chocolate that’s easier to make but softer at room temperature and best stored in the fridge.
- Naturally Sweetened Chocolate: Swap the cane sugar for maple sugar or coconut sugar for a more natural option. I don’t recommend using maple syrup or honey. They contain extra moisture that can cause the chocolate to seize or prevent it from setting properly.
- Flavor-Infused Chocolate: Mix in extracts like vanilla extract, orange extract, peppermint extract, or almond extract at the end of refining to infuse the chocolate with more flavor. You can also include spices and flavor enhancers like orange zest or cinnamon if desired.
- Sweet & Salty: Sprinkle a pinch of salt over the chocolate before it sets, or mix in salted nuts. Chopped almonds, hazelnuts, peanuts, or pistachios all make great additions.
- Fruity & Crunchy Add-Ins: Include mix-ins like freeze-dried fruit (such as strawberries or raspberries), cocoa nibs, or toasted coconut flakes before molding for extra texture.
- Filled Chocolate Bars: Create layers with peanut butter, nut butter, caramel, or cookie butter by pouring half the chocolate into the molds, adding the filling, and topping it with more chocolate.
Nick’s Tips for Success
- Grind the sugar finely. Make sure your sugar is very fine before adding it to the melanger. This helps create a smoother, less grainy chocolate.
- Add the sugar slowly. Don’t dump it all in at once. Adding the sugar to the melanger gradually prevents the chocolate from seizing.
- Be patient with refining. This step takes quite a long time, but it’s what transforms your chocolate from gritty to silky smooth. Don’t rush it!
- Monitor temperature closely. Keep your chocolate between 110-130°F (43-54°C) during refining to maintain proper texture and flavor.
- Winnow thoroughly. Removing as much of the husk as possible prevents bitterness and improves the final texture.
- Try the seeding method for tempering. Melt the chocolate in a saucepan or double boiler until it reaches 115°F (46°C), being careful not to let it come to a simmer. Then, remove it from the heat, and stir in 10-20% finely chopped tempered chocolate until the temperature reduces to 80-82°F (26-27°C). Then, bring the chocolate back to 88-90°F (31-32°C) before molding.
- Avoid refrigeration. Let the homemade chocolate set at cool room temperature. Refrigerating can cause blooming and dull the finish.
Homemade Chocolate Recipe
Equipment
- 1 Fermentation Box (Wooden or Insulated Container)
- Banana Leaves or Breathable Cloth
- 2-3 Drying Racks or Dehydrator
- 2-3 Sheet Pans
- 1 Dehydrator Oven
- 1 Rolling Pin or Grinder (for Cracking)
- 1 Fan (for Winnowing)
- 1 Vitamix
- 1 Stone Melanger
- 1 Thermometer
- 1 Infrared Thermometer (Preferred)
- 4 Polycarbonate Bar Molds
- 1 Bench Scraper
- 1 Marble Slab (Optional, for Tabling)
- 1 Microfiber Cloth
Ingredients
- ~25 cacao pods, yields ~ 2.2 pound / 1 kilogram dried fermented beans
- 1½ cup (300 gram) fine organic cane sugar (for 70% chocolate)
- ⅓ cup (70 gram) cocoa butter, melted
Instructions
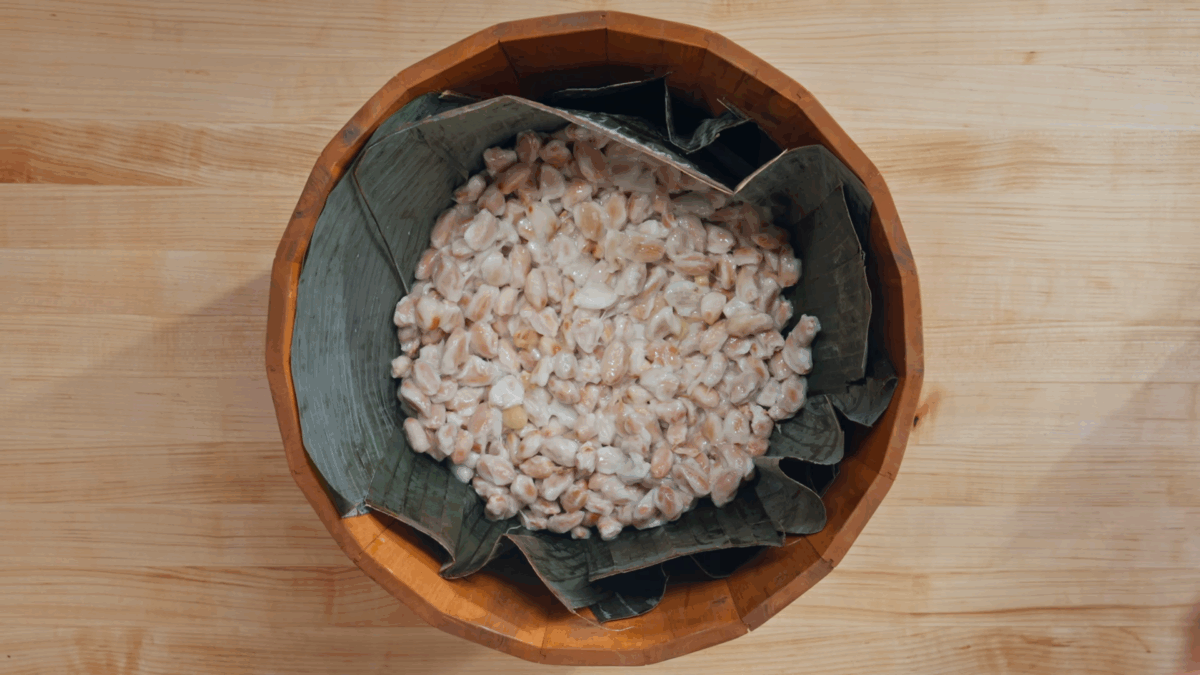
Ferment the Cacao Beans:
- Split cacao pods and remove the beans, keeping the pulp intact.~25 cacao pods
- Transfer the beans to a wooden fermentation box.
- Cover with banana leaves or a breathable cloth.
- Ferment for five to seven days, turning the beans on day two and day four to introduce oxygen.
- The internal temperature should reach 110-120°F (43-48°C).
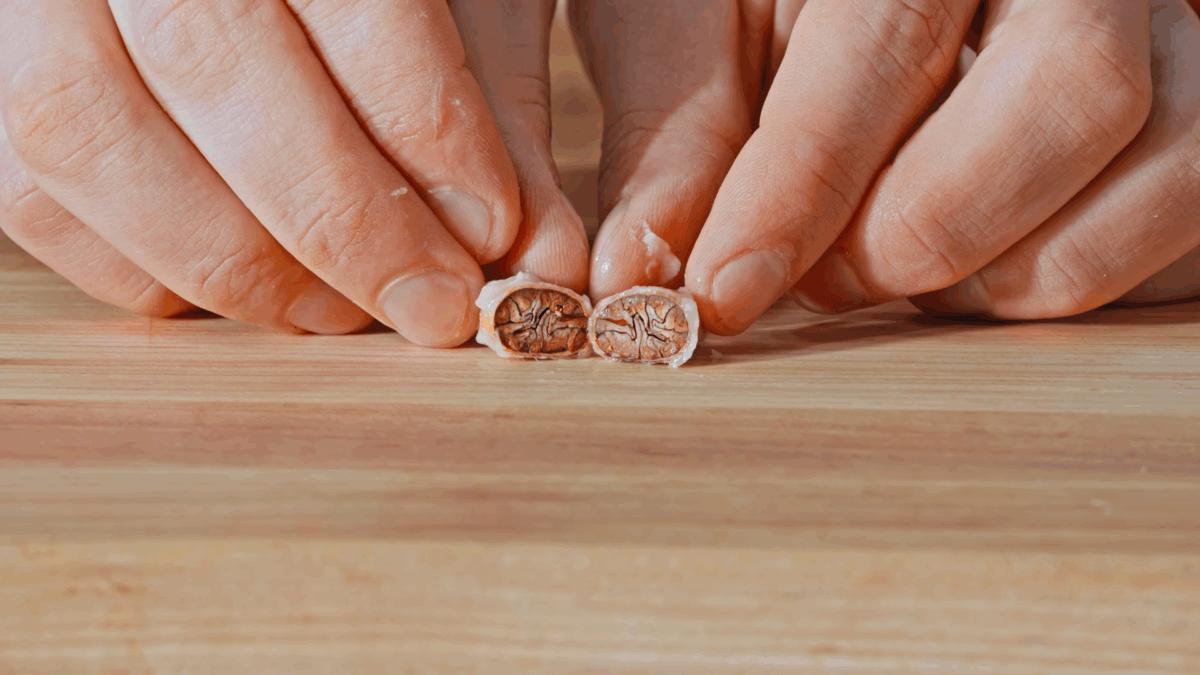
Cut Test:
- Slice a bean in half to check doneness. Fully fermented beans will be brown inside. A purple interior indicates under-fermentation.
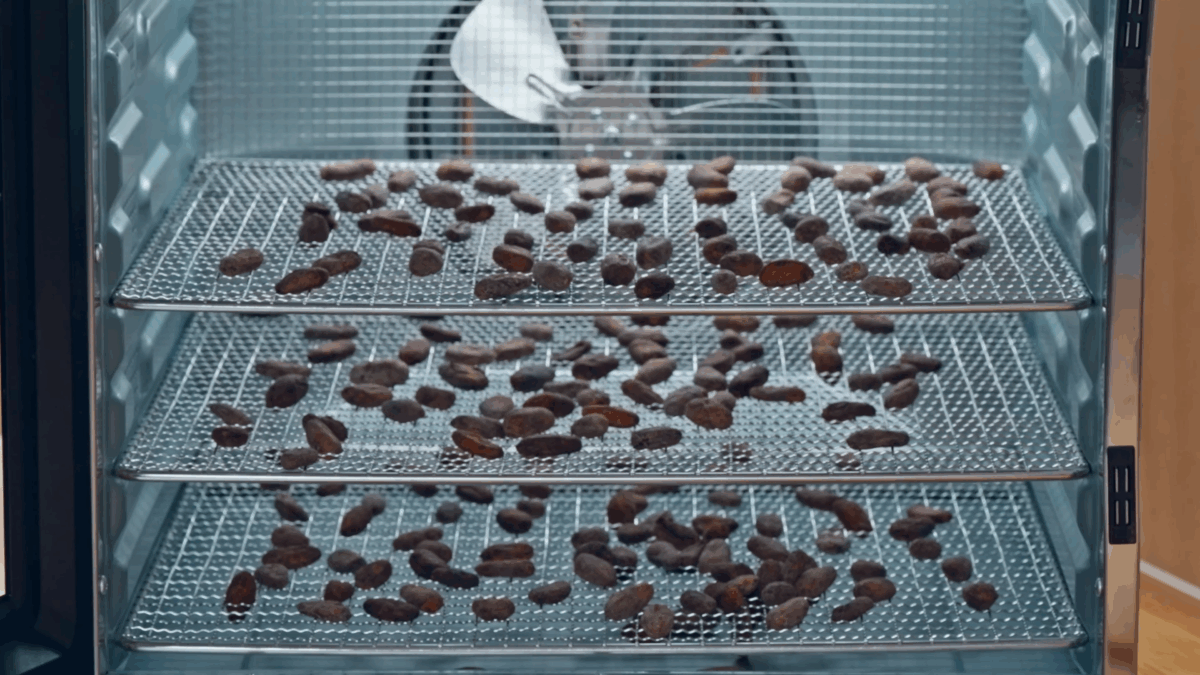
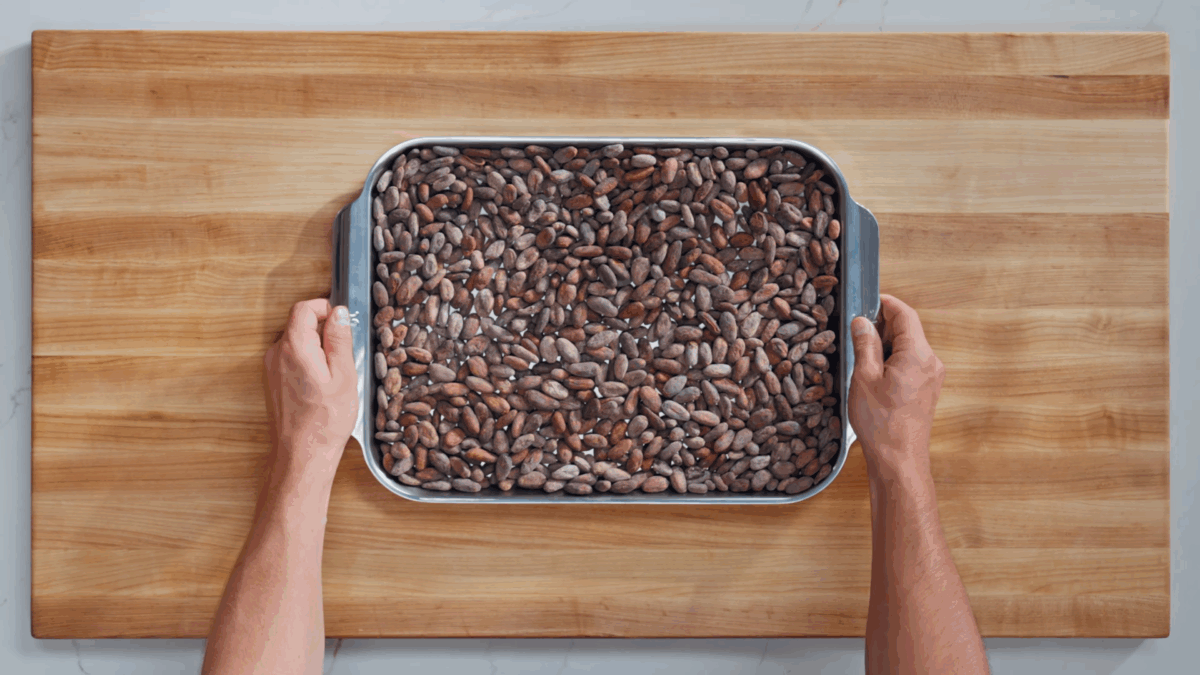
Dry the Beans
- Spread the fermented beans in a single layer on drying racks or sheet pans.
- Dry in the sun or a dehydrator at 95-115°F (35-46°C), leaving the door slightly open for airflow.
- Turn the beans daily to ensure even drying.
- Continue drying until moisture reaches approximately six to seven percent. The beans should feel hard and rattle when shaken.
Sort the Beans
- Remove and discard any moldy beans, flat beans, or germinated (sprouted) beans, along with any stones or debris.
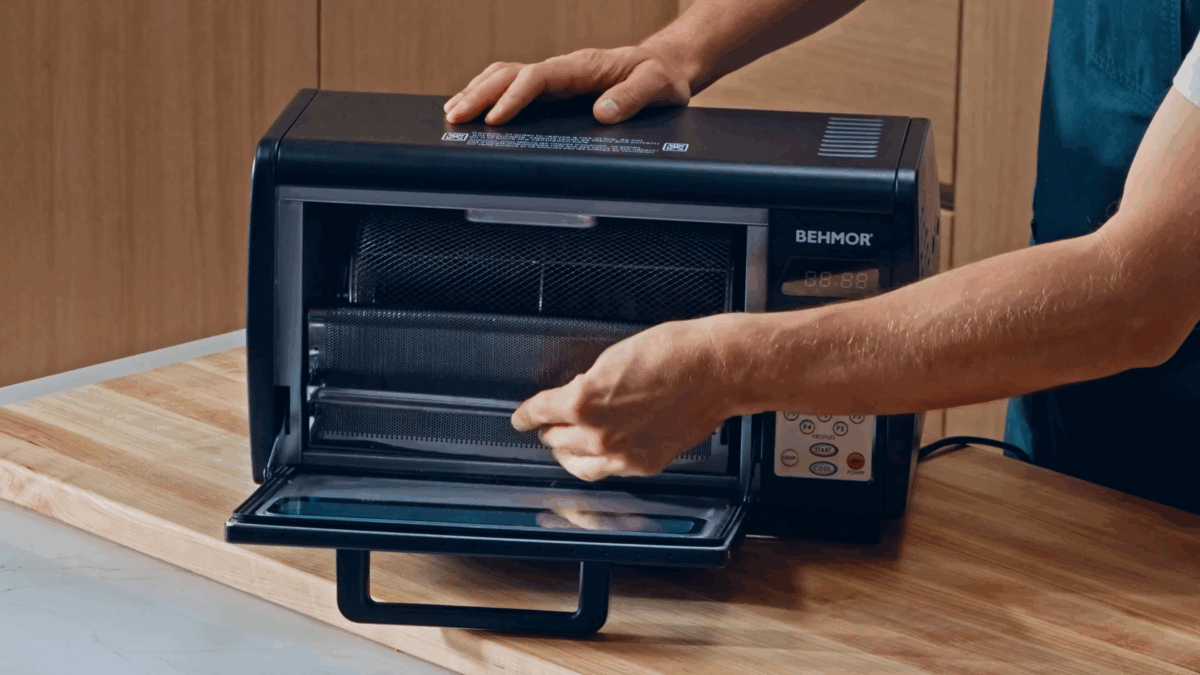
Roast the Beans
- Add ~2.2 pound (one kilogram) beans to a roaster.
- Roast for 17 minutes.
- Turn off the machine immediately after roasting. Do not allow it to move to the next phase.
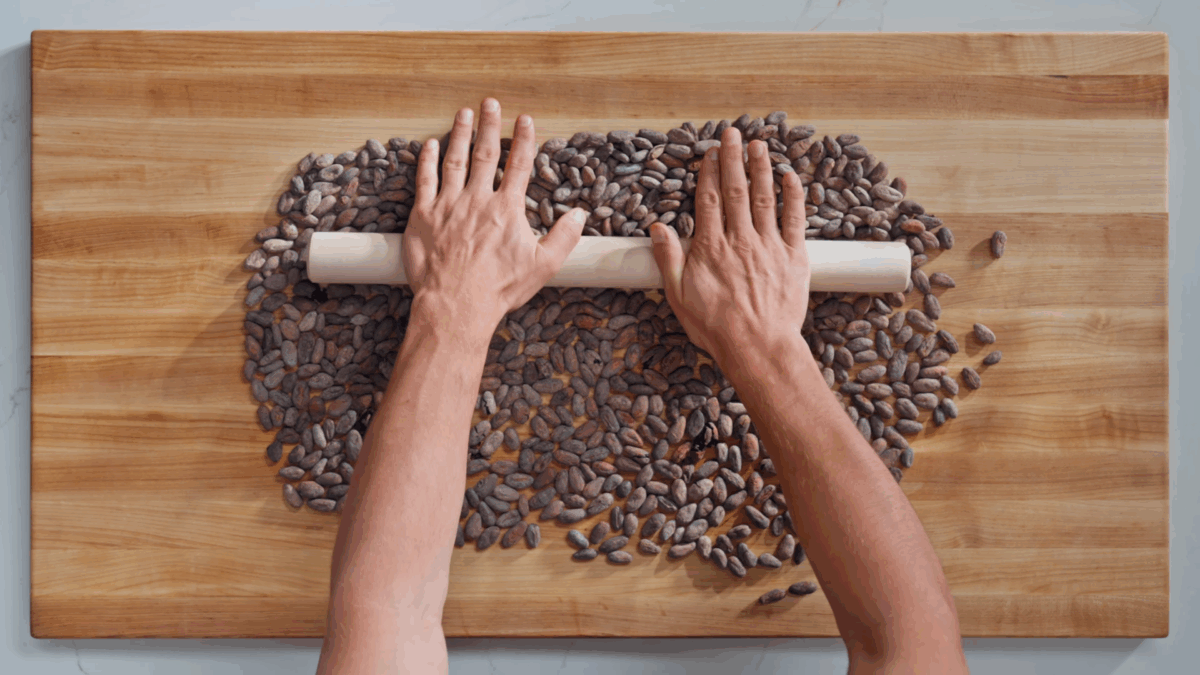
Crack and Winnow the Beans
- Crack the beans using a rolling pin or pulse in a food processor (four to six pulses).
- Sift the mixture through a colander.
- Transfer the mixture to a metal bowl.
- Airflow Method: Use a fan, heat gun, or hair dryer to blow away the lighter husks while rotating the bowl.
- The heavier cacao nibs will remain in the bowl. Discard all husks.
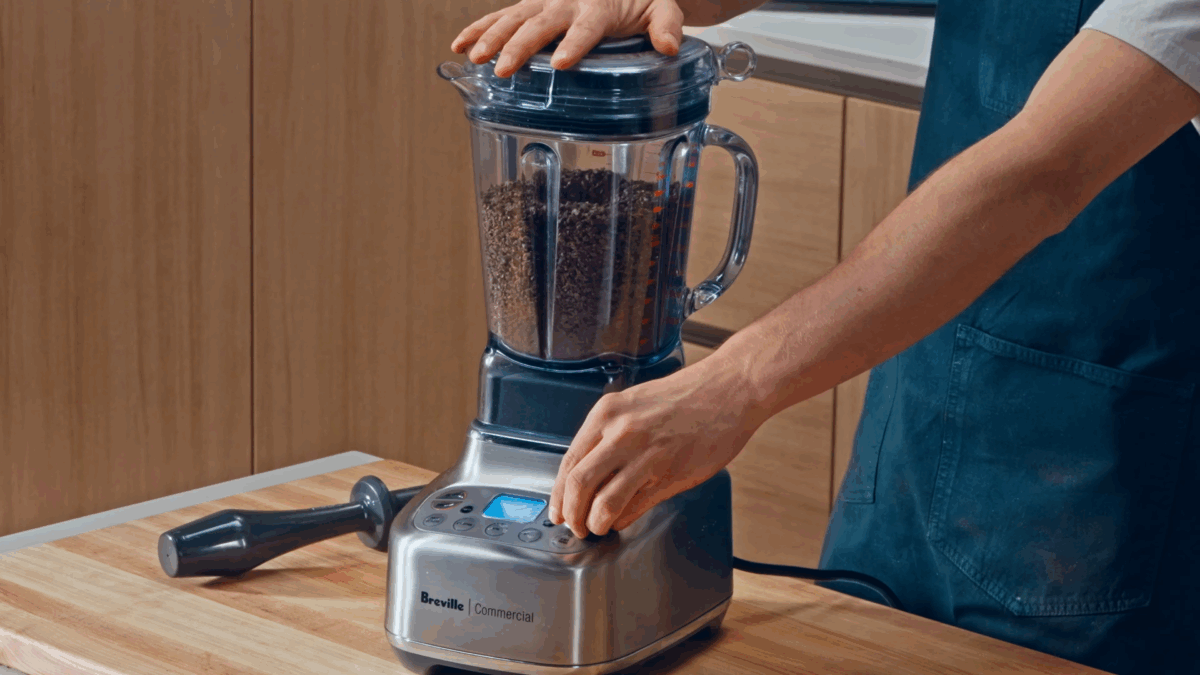
Grind into Cocoa Liquor
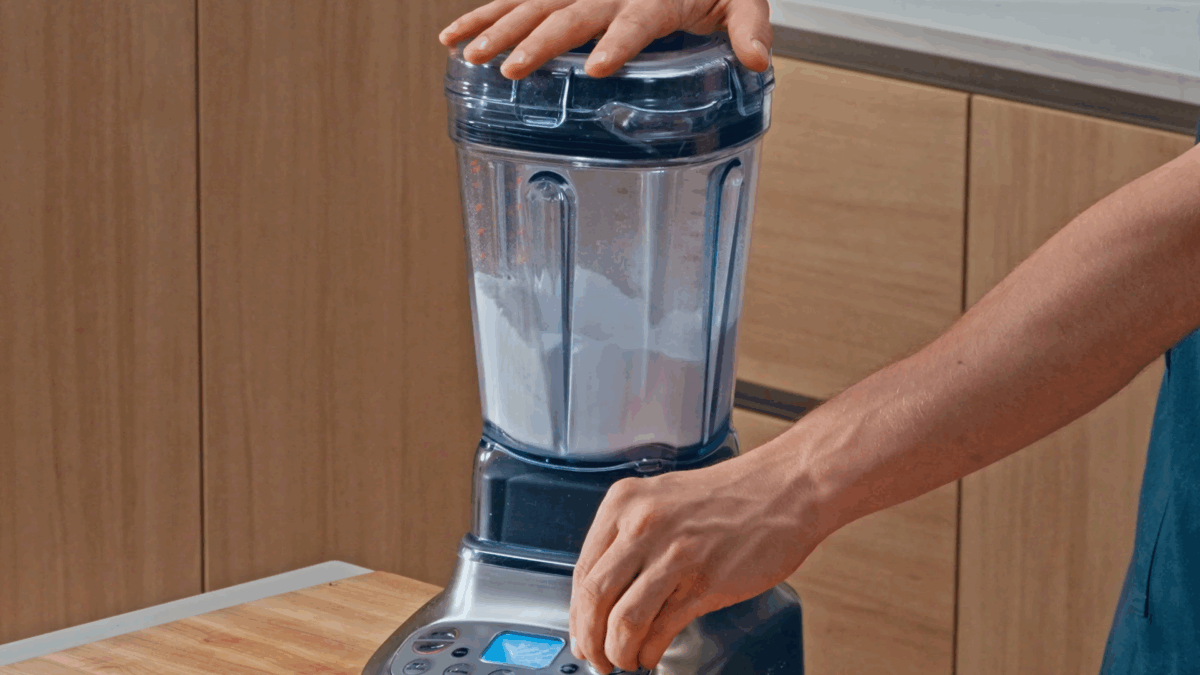
- Add about five cup (700 gram) cacao nibs to a high-speed blender (like a Vitamix).
- Blend on high until a thick, smooth paste forms (cocoa liquor). Do not exceed 140°F (60°C).
Prepare the Sugar
- Grind one and a half cup (300 gram) granulated sugar in a clean blender until very fine. This helps the melanger run smoothly and prevents grainy chocolate.1½ cup fine organic cane sugar (for 70% chocolate)
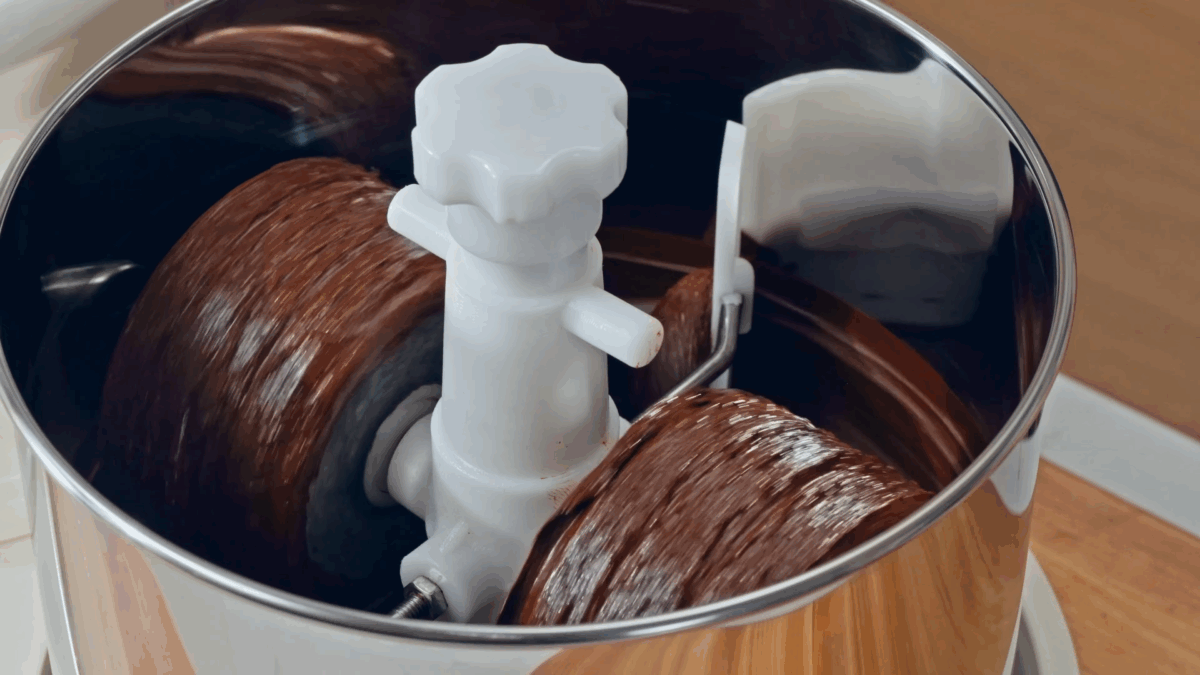
Refine the Chocolate
- Transfer the cocoa liquor to a melanger.
- Once fully liquid, add 1/3 cup (70 gram) melted cocoa butter.⅓ cup cocoa butter
- Slowly add the sugar.
- Refine for 24-48 hours, or up to 72 hours for an ultra-smooth texture.
- Maintain the chocolate between 110-130°F (43-54°C).
Temper the Chocolate
- Temper Curve (Dark Chocolate): – Melt: 115-120°F (45–50°C)– Cool: 80-82°F (26–27°C)– Working: 88-90°F (31–32°C)
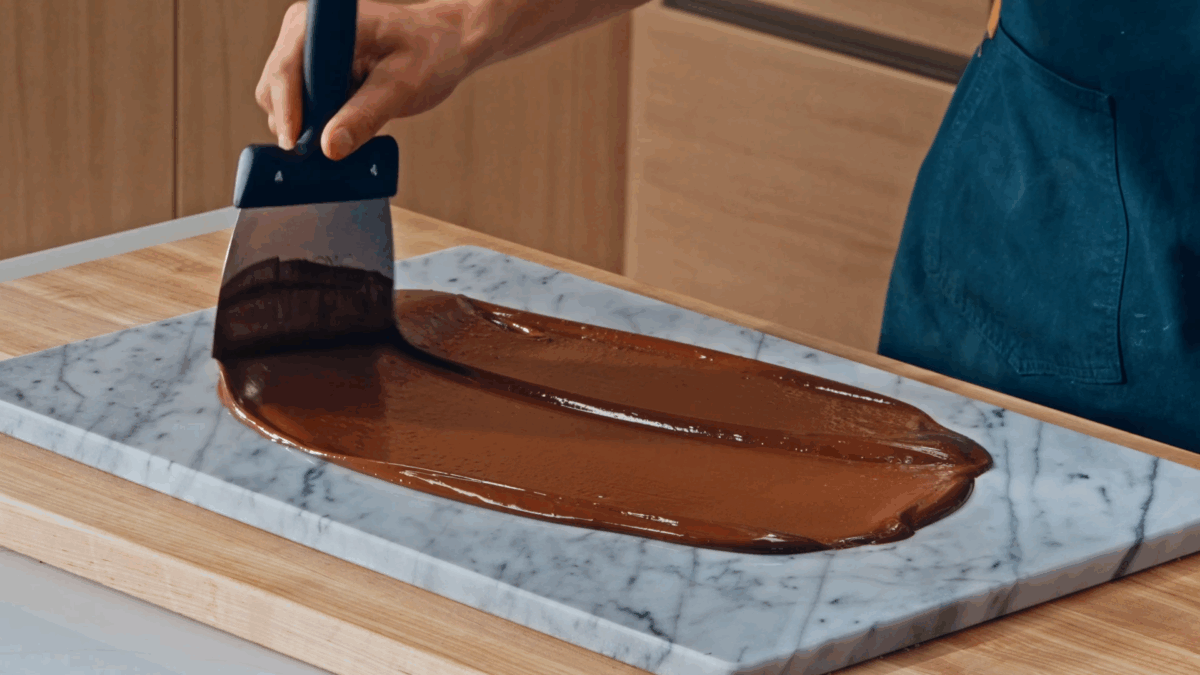
Tabling Method:
- Pour the chocolate onto a marble slab.
- Move it continuously with a bench scraper until it cools to 80-82°F (26-27°C).
- Use a heat gun to gently reheat it to 88-90°F (31-32°C).
Seeding Method (Alternative)
- Melt chocolate to 115°F (46°C).
- Remove from heat.
- Add ten to twenty percent finely chopped tempered chocolate.
- Stir until cooled to 80-82°F (26-27°C).
- Gently reheat to 88-90°F (31-32°C).
- Hold at working temperature for molding.
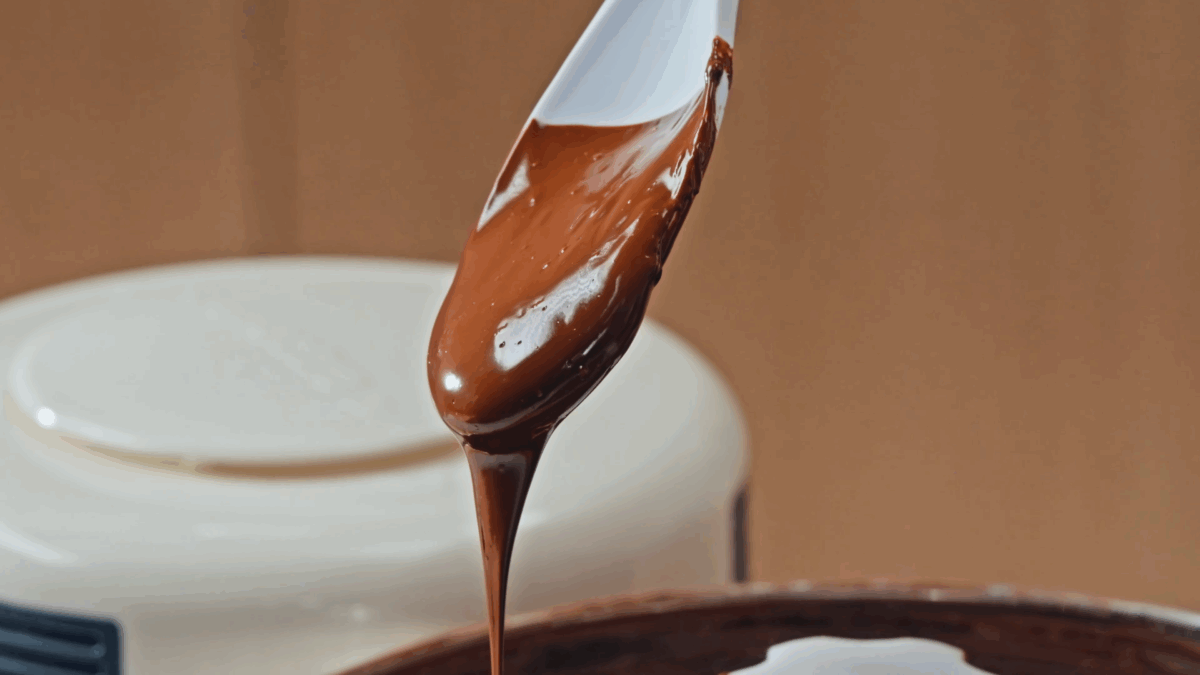
Check Temper
- Spread a small amount on an offset spatula. It should set quickly with a glossy finish.
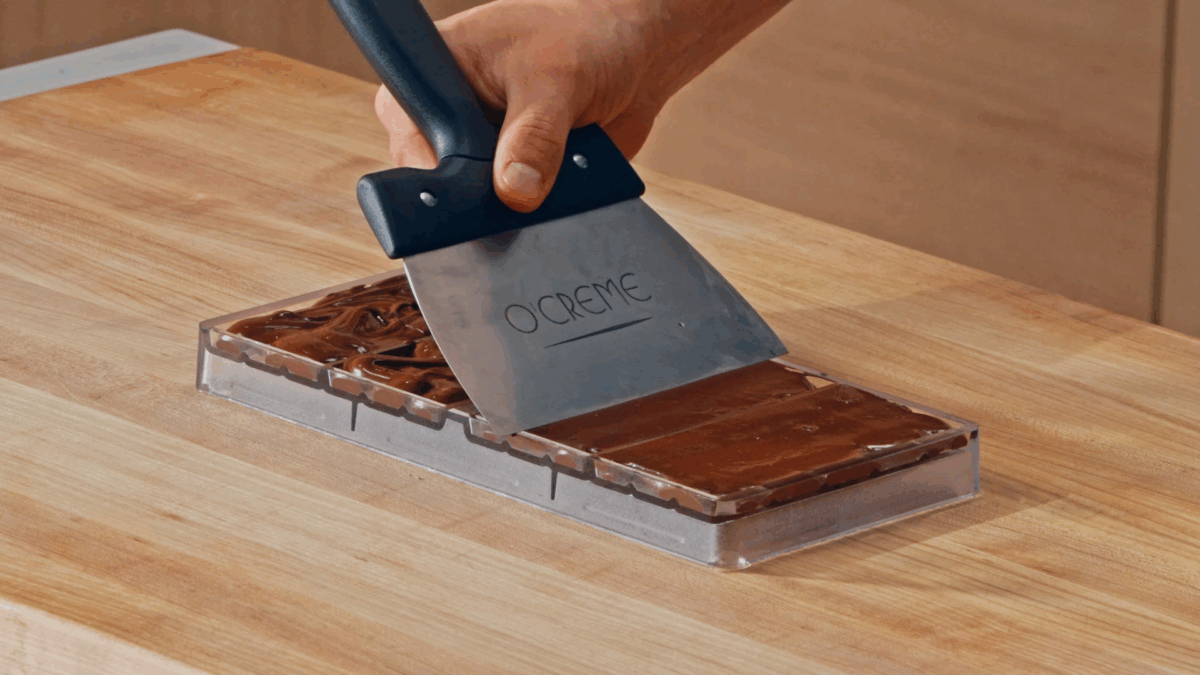
Mold the Chocolate
- Polish polycarbonate molds with a microfiber cloth. Ensure the molds are clean, dry, and at room temperature. Optional: Spray molds with cocoa butter for extra shine.
- Pour the tempered chocolate into the molds.
- Tap firmly to release air bubbles.
- Scrape off excess chocolate.
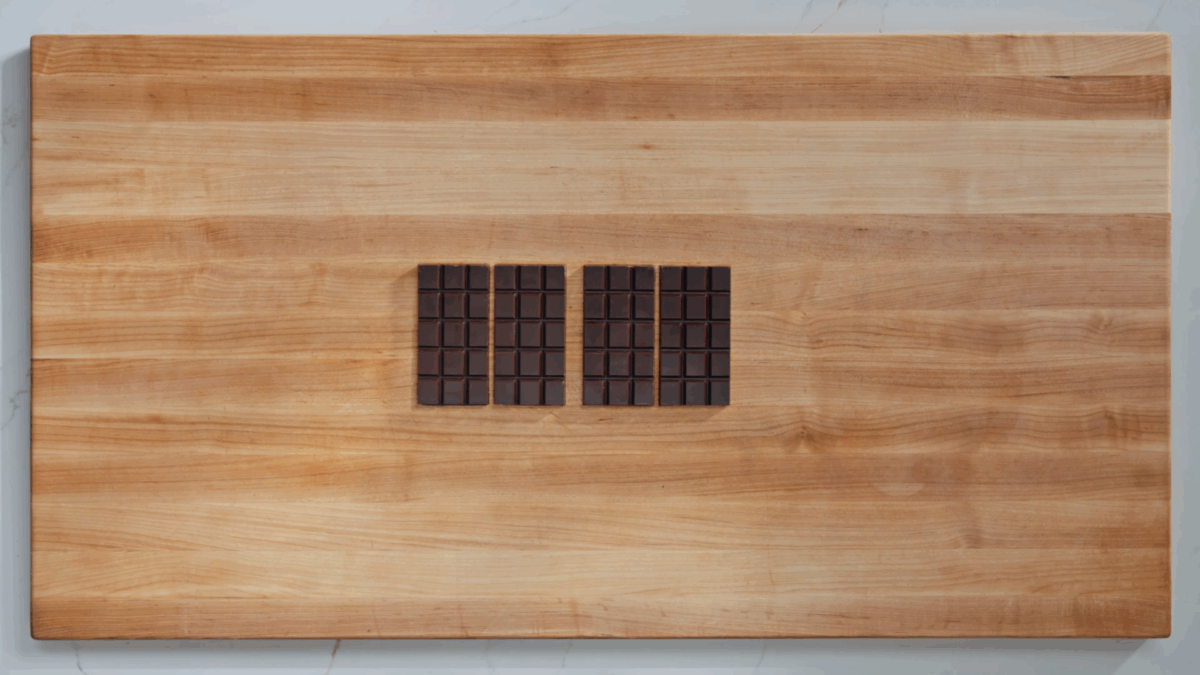
Set and Release
- Allow the chocolate to set at 60-65°F (16-18°C). Avoid refrigeration, as it can cause blooming and uneven crystallization. Chocolate will naturally contract as it sets.
- Once set, invert the molds and tap gently to release.
Video

Notes
Nutrition
Nutrition information is automatically calculated, so should only be used as an approximation.
 Like this recipe? Rate & comment below!
FAQs
Chocolate usually seizes when it comes into contact with even a small amount of water. This can happen from wet utensils, steam, or humidity. When water is introduced, the sugar clumps together, turning the chocolate into a thick, grainy paste. To prevent this, make sure all your tools are completely dry, and avoid working near steam.
Grainy chocolate can occur if the chocolate isn’t refined long enough, the sugar isn’t ground finely, or there isn’t enough cocoa butter to smooth everything out.
If your chocolate is melty and not setting properly, it’s usually due to improper tempering or incorrect temperatures. Chocolate needs to be tempered so the cocoa butter forms stable crystals. If it’s too warm or wasn’t cooled and reheated correctly, it may stay soft or dull.
Make sure to follow the tempering temperatures closely, and allow the chocolate to set at a cool room temperature (not in the fridge or freezer).

I never realized how much went into a chocolate bar! Thanks for sharing, Nick!