This beginner sourdough bread recipe is an easy, step-by-step guide that shows you exactly how to make sourdough bread at home. You’ll learn how to create a bubbly sourdough starter, shape a golden boule, and even make homemade butter to spread on warm slices before serving.
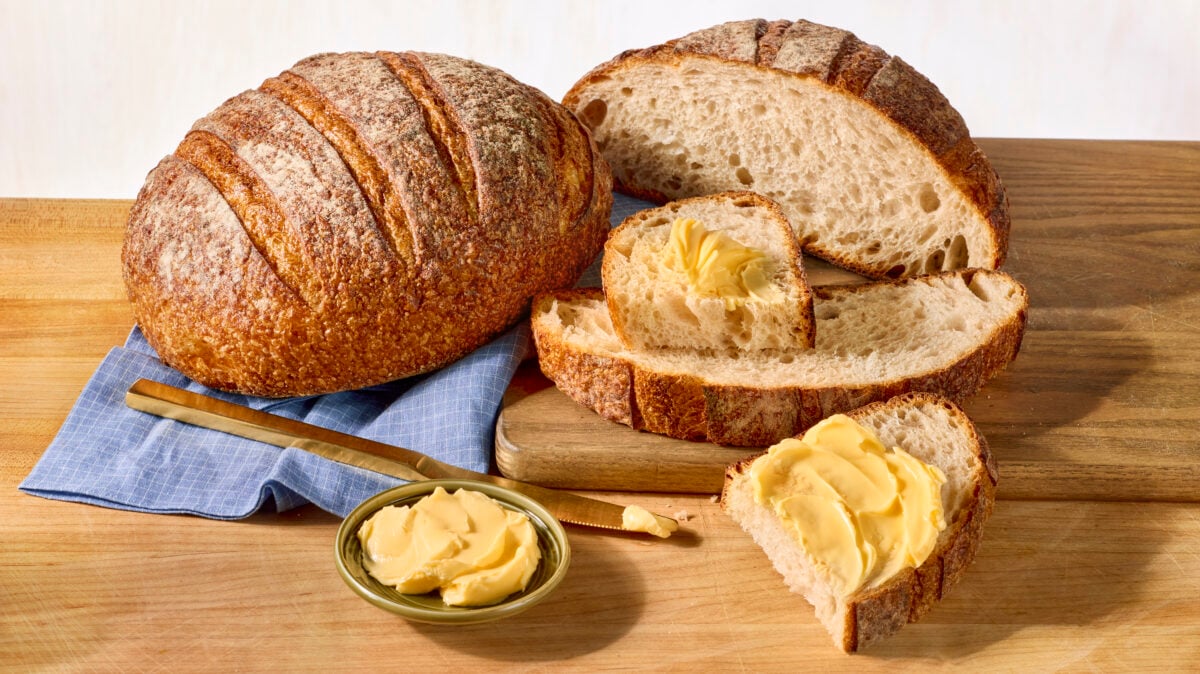
Whether you’re brand new to sourdough bread or you’ve tried to make it and felt a little intimidated, this guide is here to make the process simple and approachable. I’ll walk you through everything step by step, from creating a healthy starter to building a flavorful levain and finally baking a loaf with that chewy crumb and crispy crust we all love in bakery sourdough.
I’ve tested this recipe more times than I can count, and it never lets me down. By the end, you won’t just be baking bread, you’ll have the confidence and skills to feel like a pro in your own kitchen.
What Is Sourdough?
If you’re unfamiliar, sourdough is a type of bread that is naturally leavened, slow-fermented, and made without commercial yeast. Unlike other bread recipes, every sourdough recipe starts with something called a sourdough starter, which is a fermented mixture of flour and water that contains wild yeast and bacteria.
This mixture is kept alive and is used to feed the bread, acting as the base of the recipe, giving it a signature tangy flavor and slightly chewy texture. One of the best things about sourdough bread is that once you have a stable starter, you can essentially feed it forever, so you never run out of bread. You can even use the discard from the starter to make sourdough discard recipes, including everything from crackers to bagels and scones.
Ingredients & Notes
See the recipe card below for the complete ingredients list and instructions.
Sourdough Starter
- Whole Wheat Flour – This adds flavor depth and encourages fermentation.
- Bread Flour – Higher in protein than other flours, this gives the bread structure and a satisfying, slightly chewy, springy center.
Levain
- Whole Wheat Flour – This boosts flavor and activity, helping the starter thrive and grow.
- Bread Flour – This helps the levain rise strongly.
- Lukewarm Water – Make sure it’s around 78-80°F (25-27°C) for the best fermentation
- Starter – This must be active and bubbly before being combined with the other ingredients. Otherwise, your starter won’t continue to grow.
Bread
- Bread Flour – Again, this gives the loaf strength and an open crumb.
- Whole Wheat Flour – This adds a slightly nutty flavor and deeper color.
- Lukewarm Water – Reserve 20 grams (0.7 ounces) for mixing with salt.
- Kosher Salt – This balances the bread’s flavor and slows fermentation slightly.
Butter
- Heavy Cream – Use full-fat cream for the best taste and texture.
- Kosher Salt – This adds flavor to the butter and preserves its freshness.
How to Make an Easy Sourdough Bread Recipe (Step-by-Step Instructions)
Before you can make sourdough bread, you need to have a stable starter. It takes a couple of weeks to create. So, make sure to read through the steps below, and plan ahead before baking your sourdough loaf.
Step One: Make the Sourdough Starter (Days One Through Fourteen)
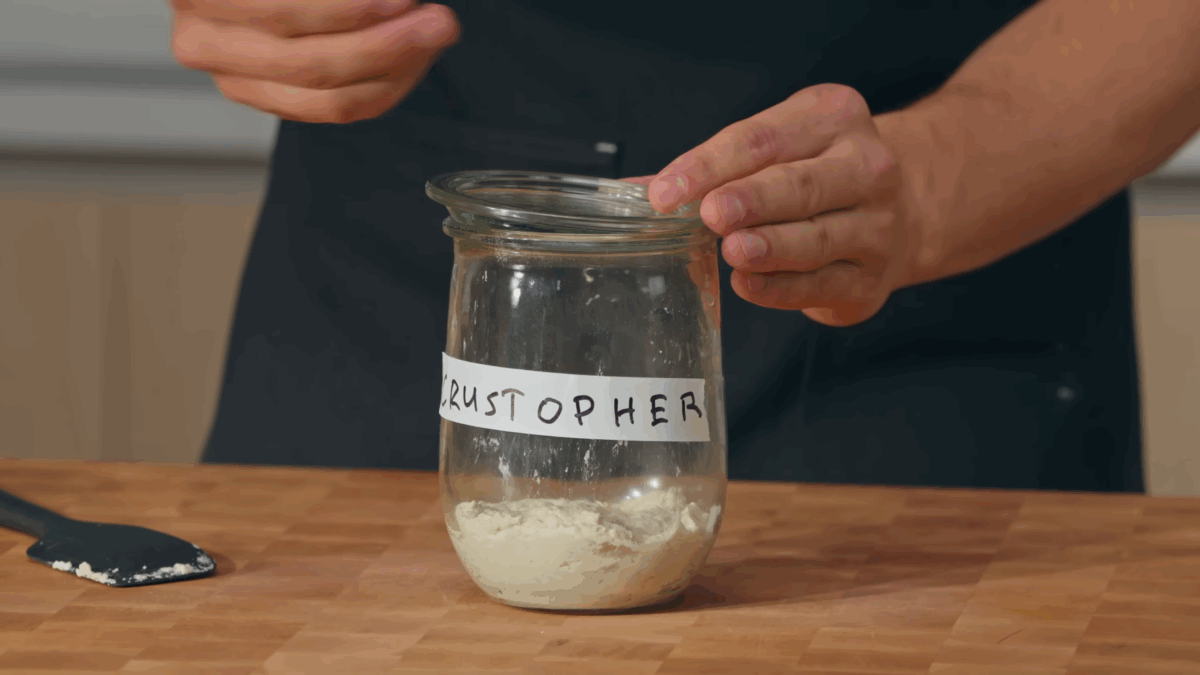
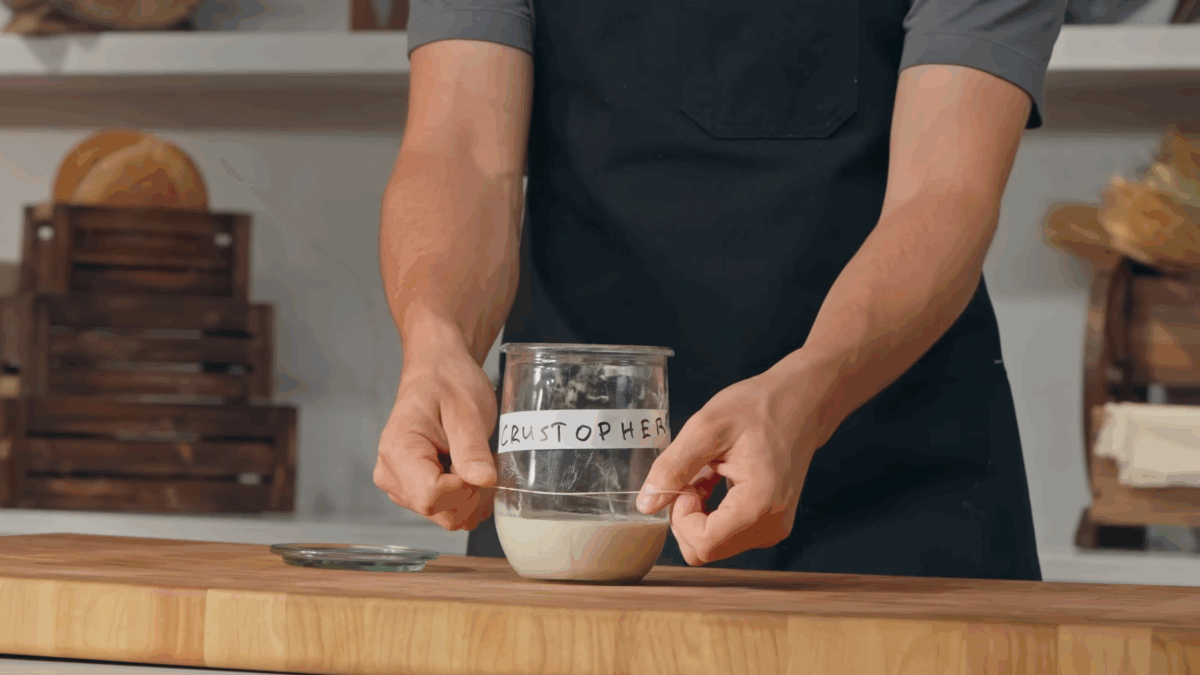
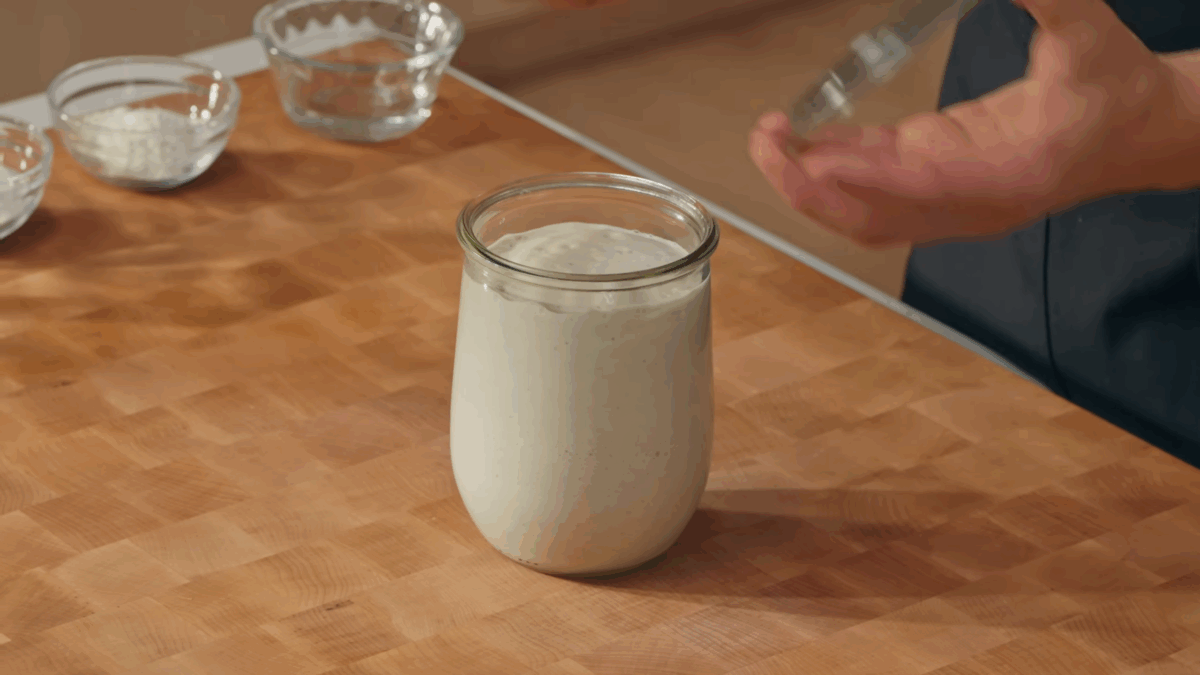
- Day one. In a large, clear container, combine 100 grams (3.5 ounces) of whole wheat flour with 125 grams (4.4 ounces) of warm water. Whisk well. Then, loosely cover the container, and set it in a warm, draft-free space.
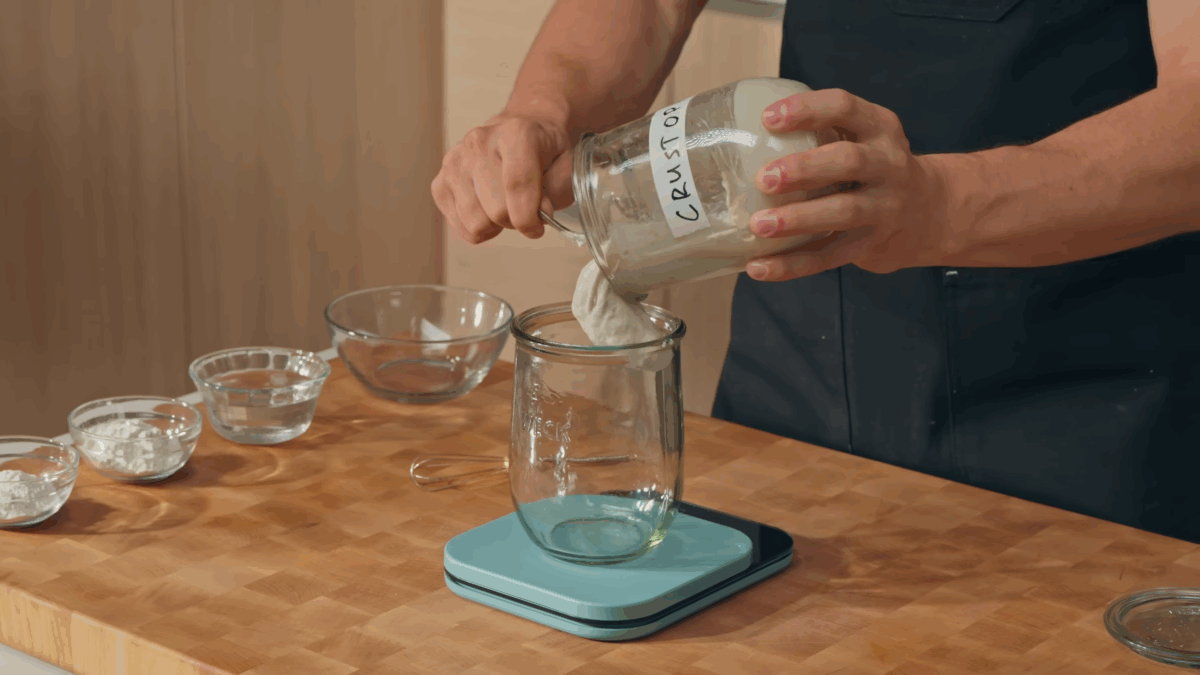
- Days two and three. Discard all but 75 grams (2.6 ounces) of starter. Add 50 grams (1.8 ounces) of whole wheat flour, 50 grams (1.8 ounces) of bread flour, and 100 grams (3.5 ounces) of warm water to the starter. Mix and scrape down the sides. Then cover again, and rest in a warm, draft-free space.
- Days four, five, and six. Continue the same feedings, discarding all but 75 grams (2.6 ounces) of starter and adding 50 grams (1.8 ounces) of whole wheat flour, 50 grams (1.8 ounces) of bread flour, and 100 grams (3.5 ounces) of warm water to the starter. Do this twice a day, about every 12 hours.
- Day seven and onward. Discard 75 grams (2.6 ounces) of sourdough starter, then feed the starter with 60 grams of warm water, 40 grams (1.4 ounces) of bread flour, and 20 grams (0.7 ounces) of whole wheat flour daily.
- Ready to bake. Your starter is ready when it triples in size within four to six hours of feeding and smells pleasantly tangy.
Step Two: Build the Levain
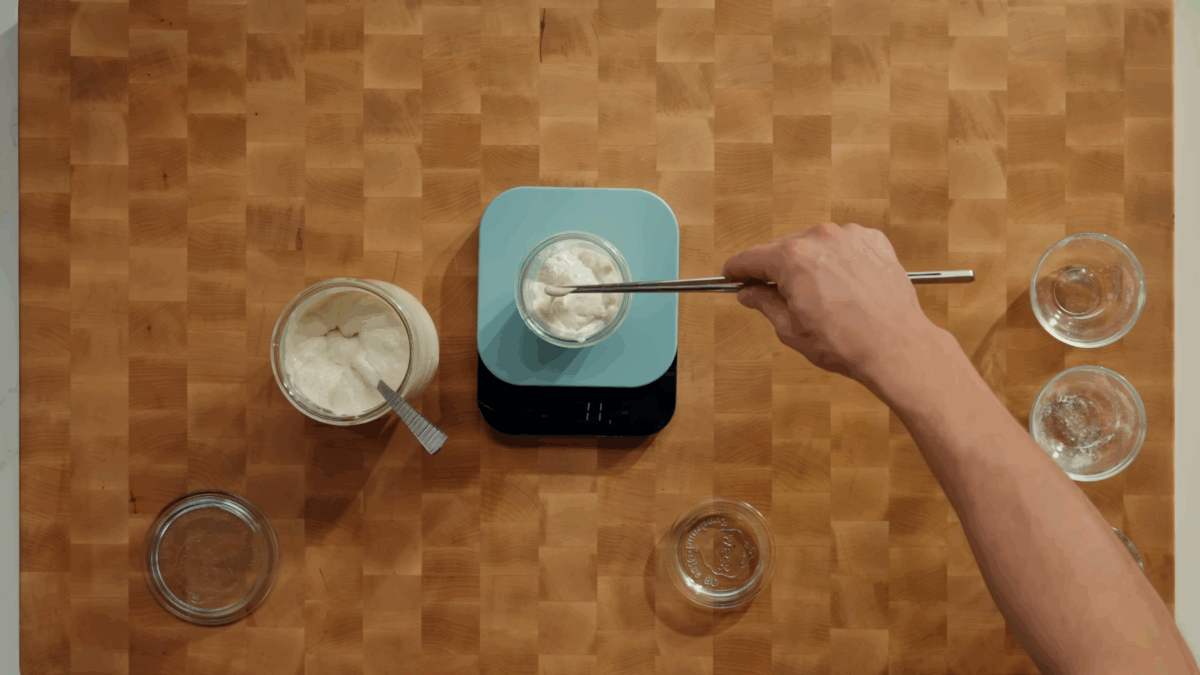
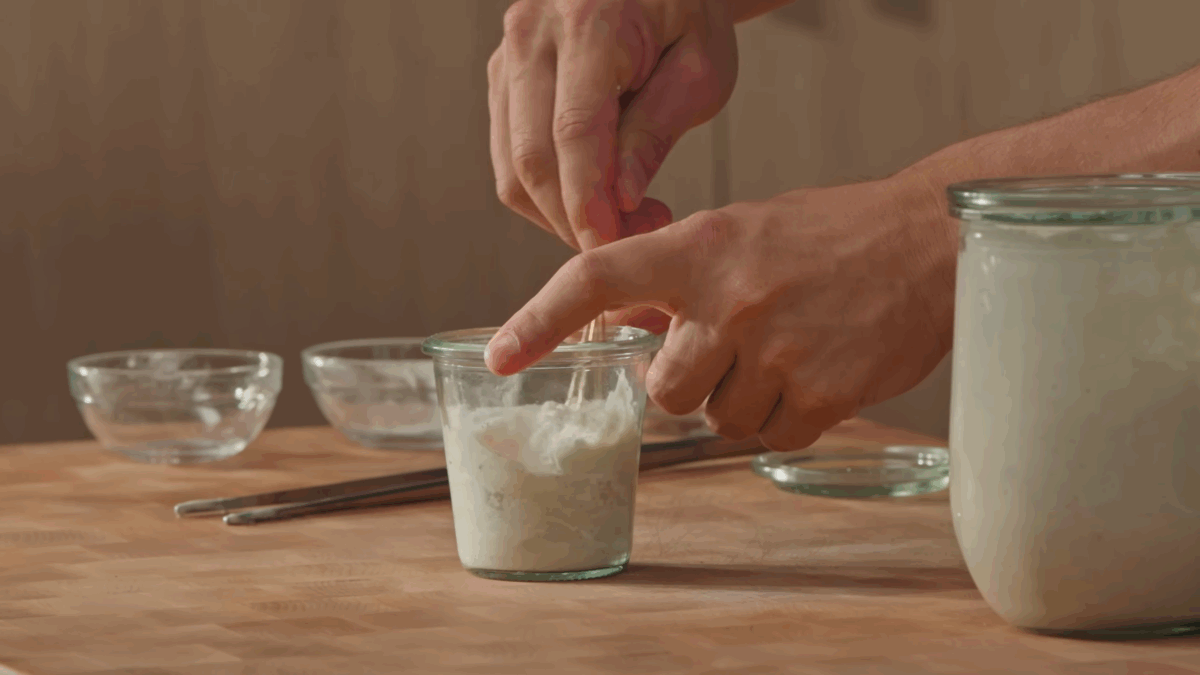
- Combine. About three hours before mixing your dough, combine all levain ingredients in a jar. Loosely cover, and set the mixture in a warm place until it triples in size.
Step Three: Autolyse
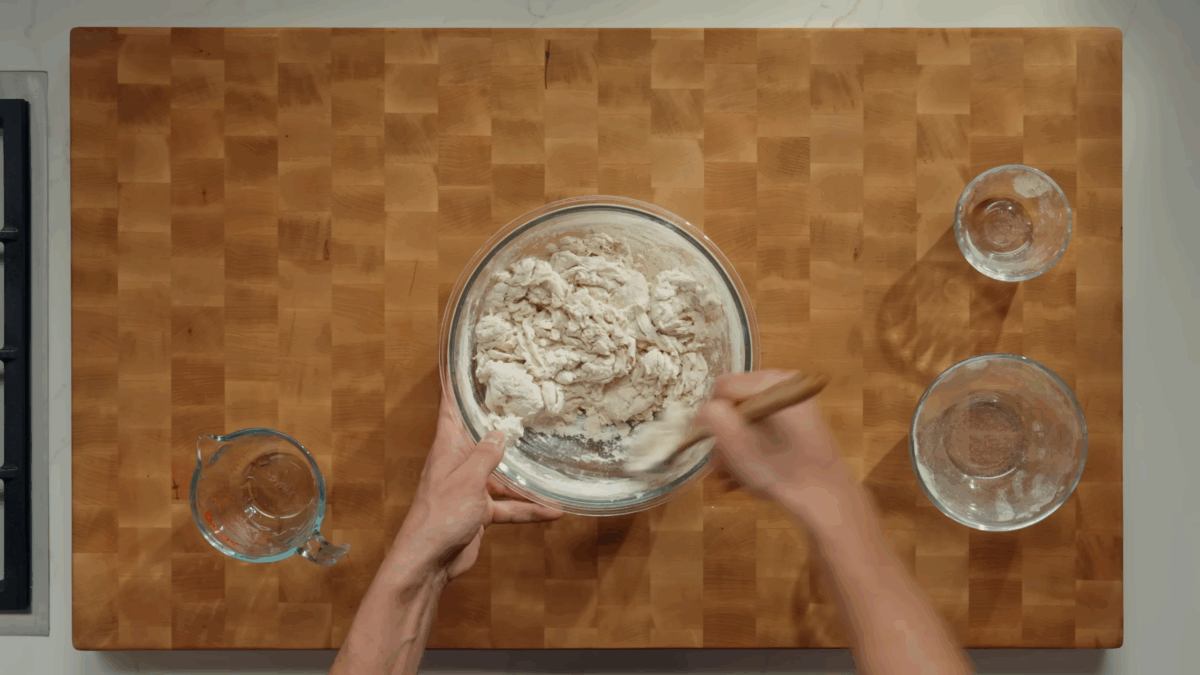
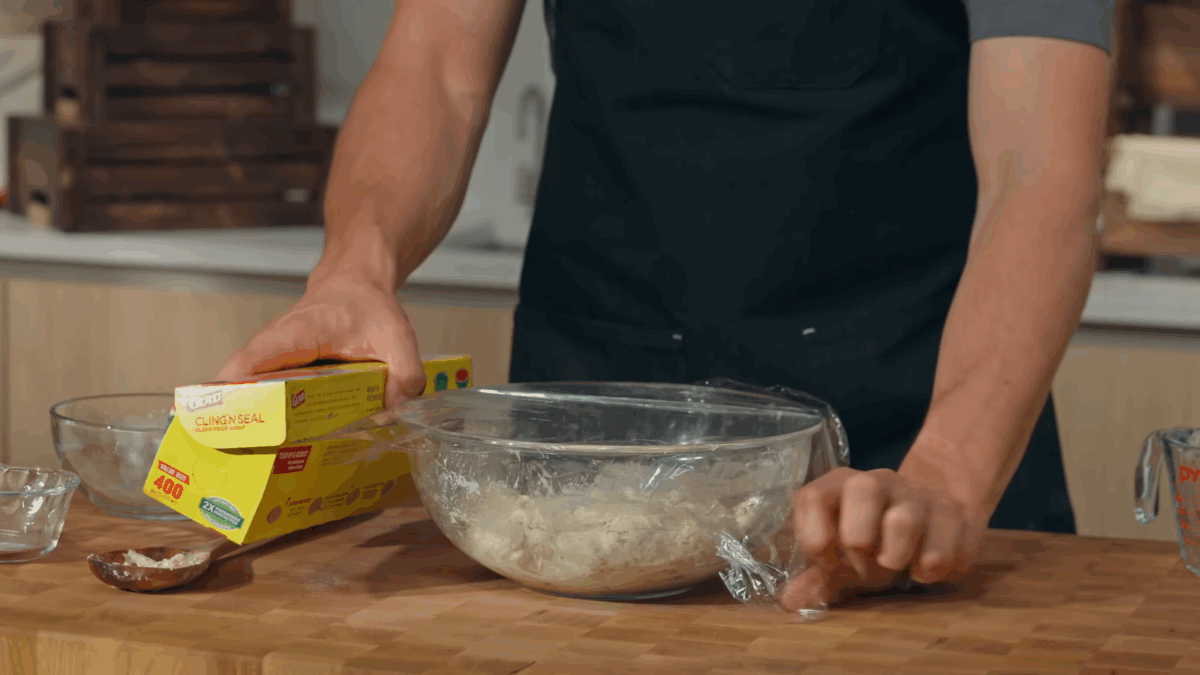
- Mix. An hour before your levain is ready, mix bread flour, whole wheat flour, and 320 grams (11.3 ounces) of warm water in a large bowl until no dry spots remain.
- Rest. Cover the bowl with a lid, and rest for one hour. This allows the gluten to develop, contributing to the bread’s flavor and creating a more stable, stretchable dough.
Step Four: Bulk Fermentation & Folds
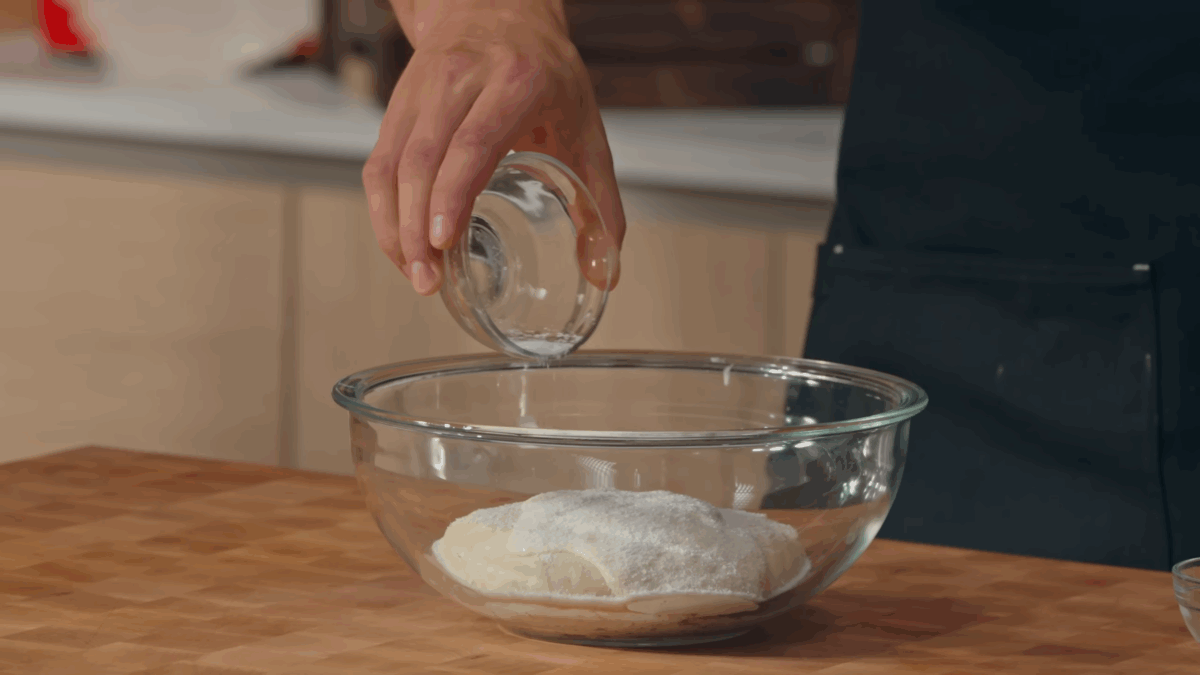
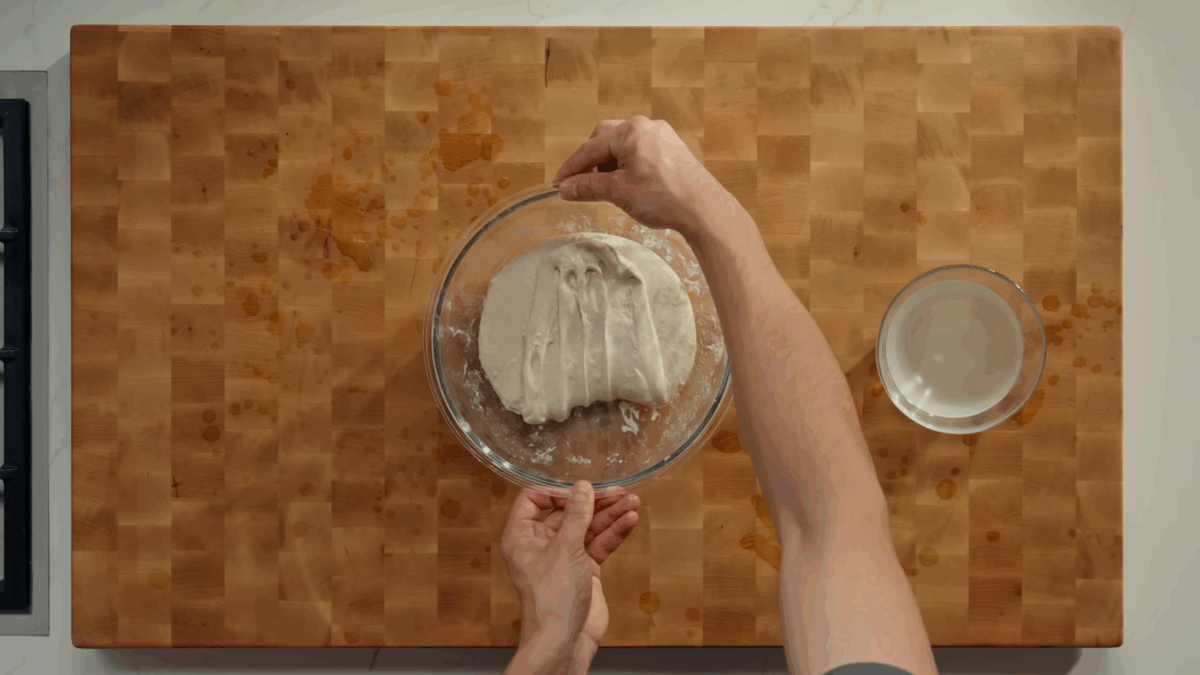
- Combine. Add levain to the autolyse dough. Sprinkle salt on top, and add the remaining 20 grams (0.7 ounces) of water.
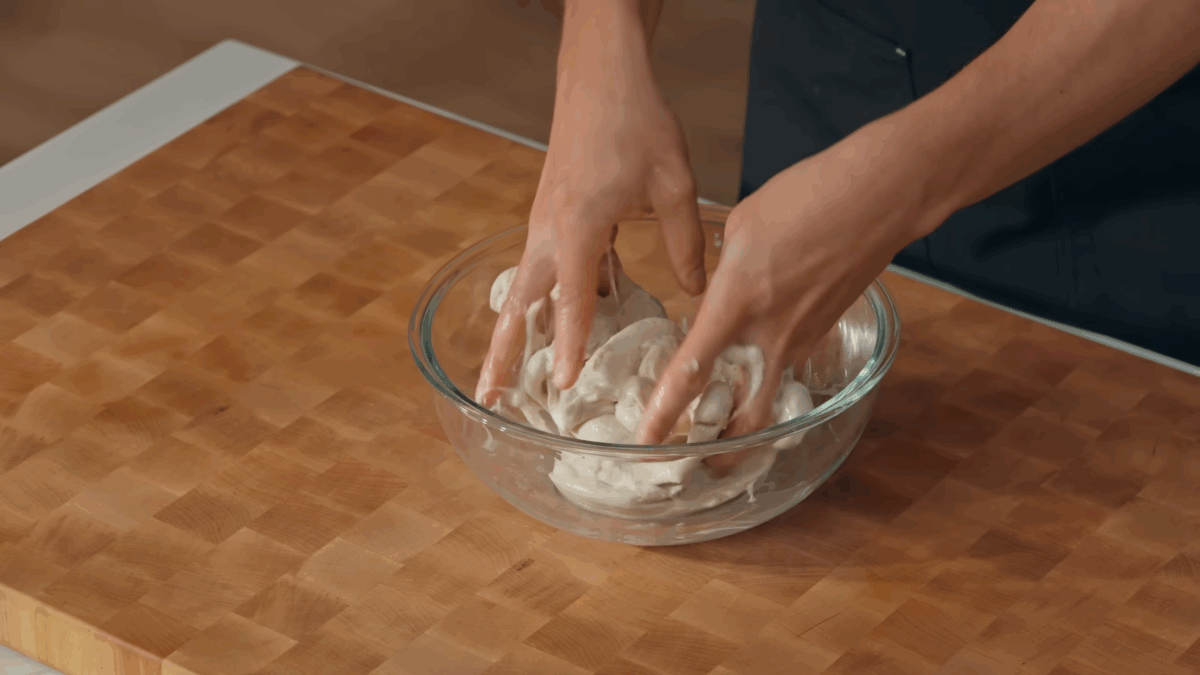
- Mix. Use your hands to squeeze and mix until fully combined.
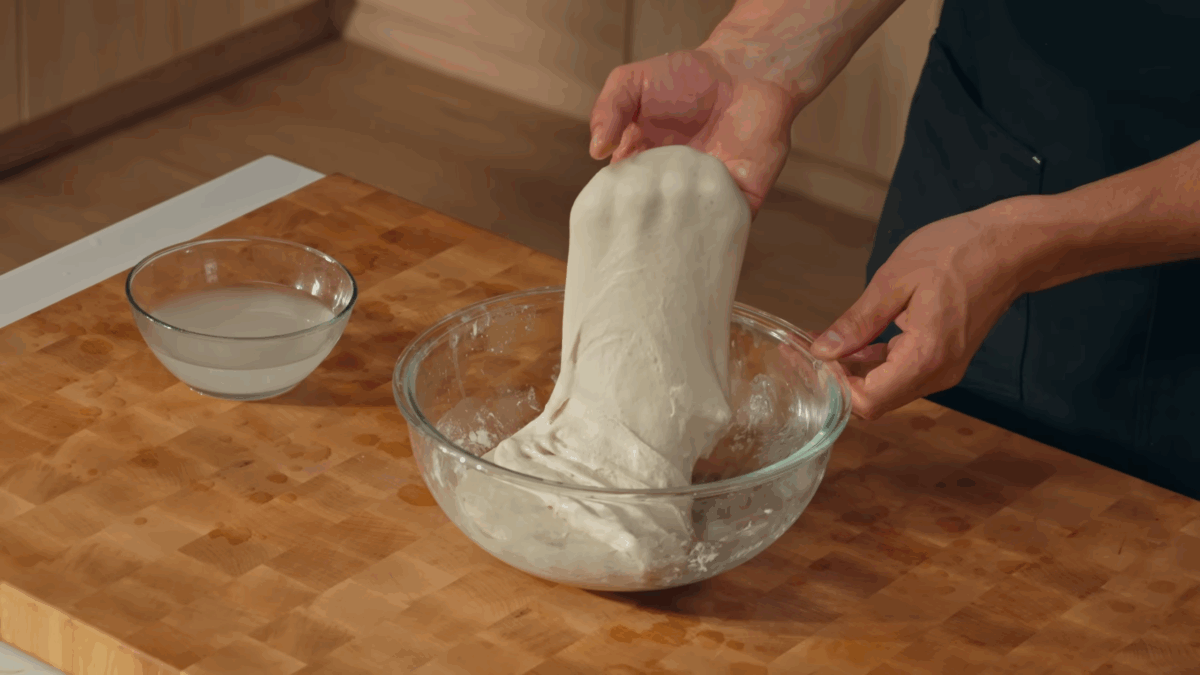
- Fold. Rest 30 minutes, then perform a series of folds: lift one side of the dough, stretch until you feel resistance, and fold over. Rotate the bowl 90 degrees, and repeat until a full circle is complete.
- Repeat. Rest 30 minutes, and repeat the process, folding the dough twice more.
- Rest. After the final fold, rest for 30 minutes.
Step Five: Pre-Shape & Shape the Dough
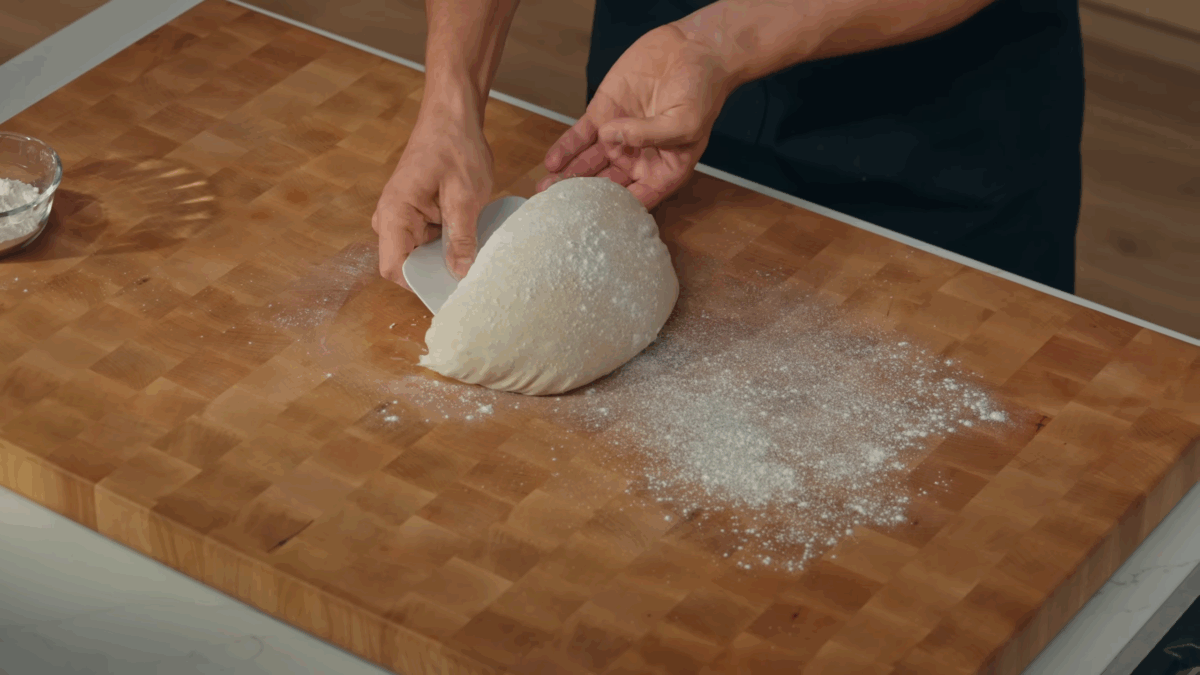
- Transfer. Turn the dough onto a lightly floured surface.
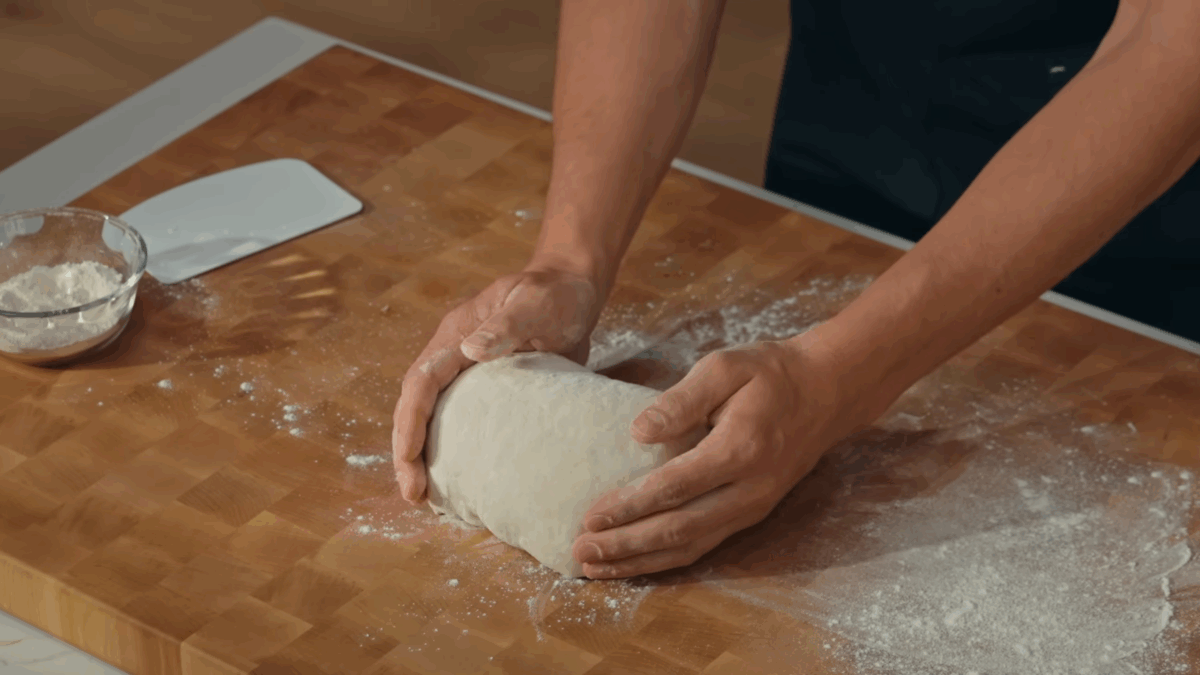
- Drag. Cup your hands around the dough, and gently drag toward you to create surface tension.
- Fold. Rest 30 minutes uncovered, then flip and fold into a boule using the “package fold” method.
- Close. Create the final surface tension by dragging the dough again until the seams close.
Step Six: Overnight Cold Proof
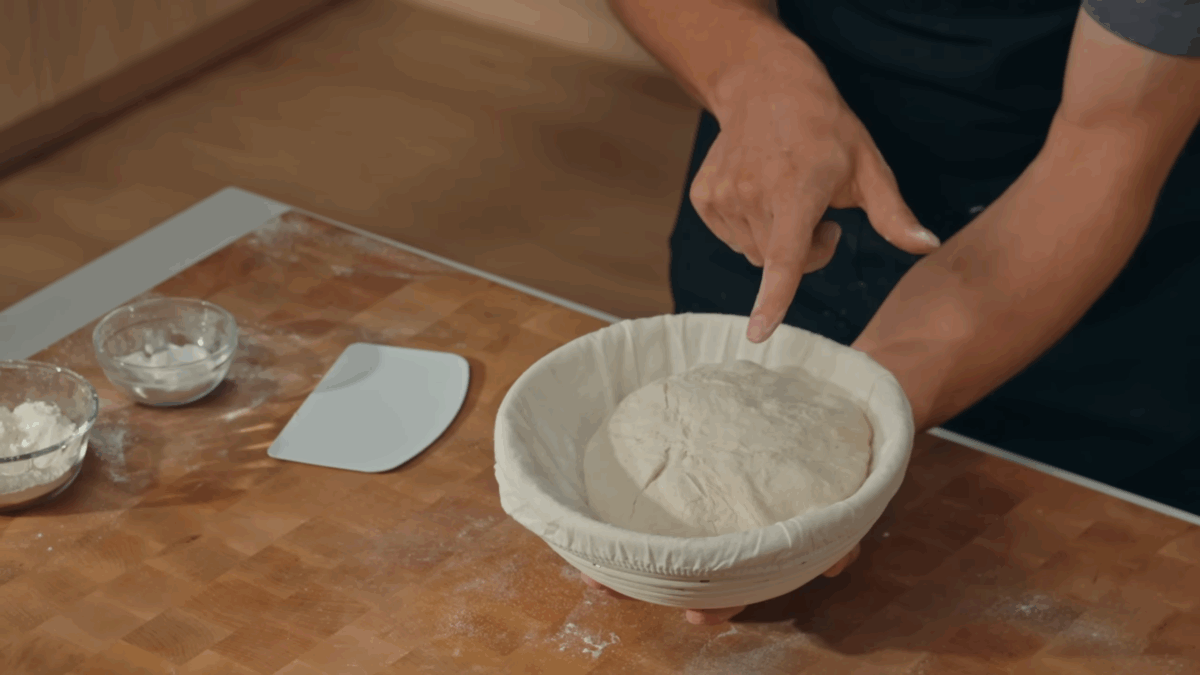
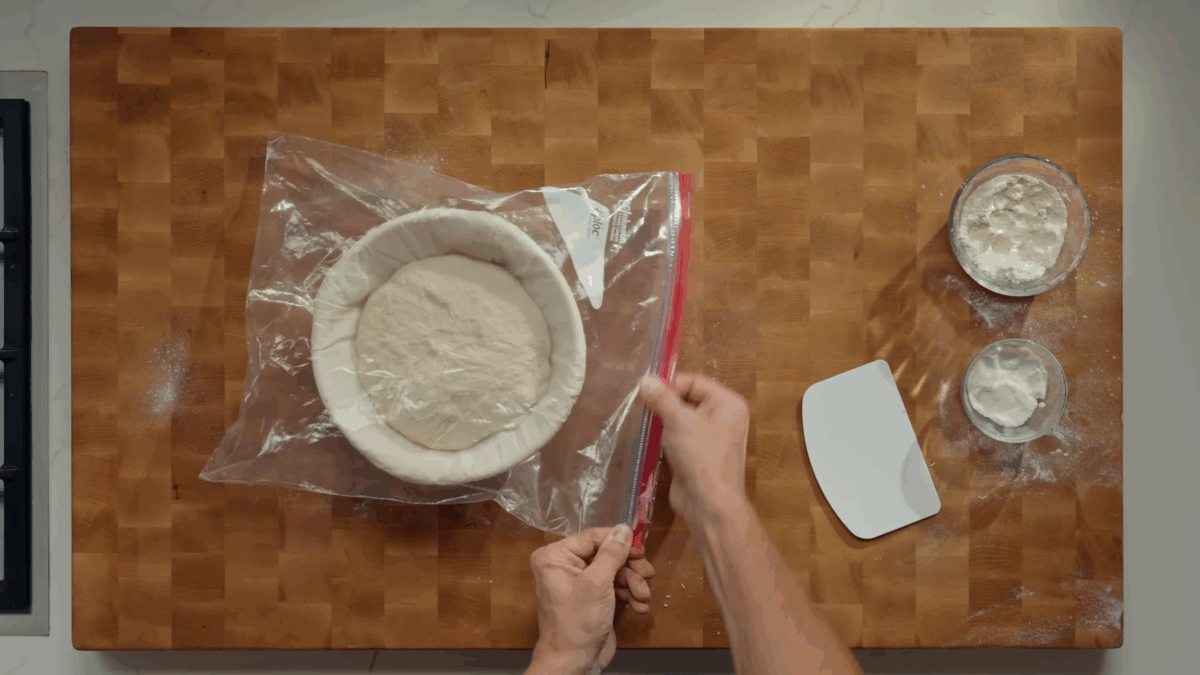
- Rest. Line a banneton or bowl with a floured tea towel. Place the dough seam-side up in the basket, cover loosely, and let the dough rest at room temperature for 20 minutes.
- Chill. Transfer to the fridge to chill for 12-18 hours.
Step Seven: Bake
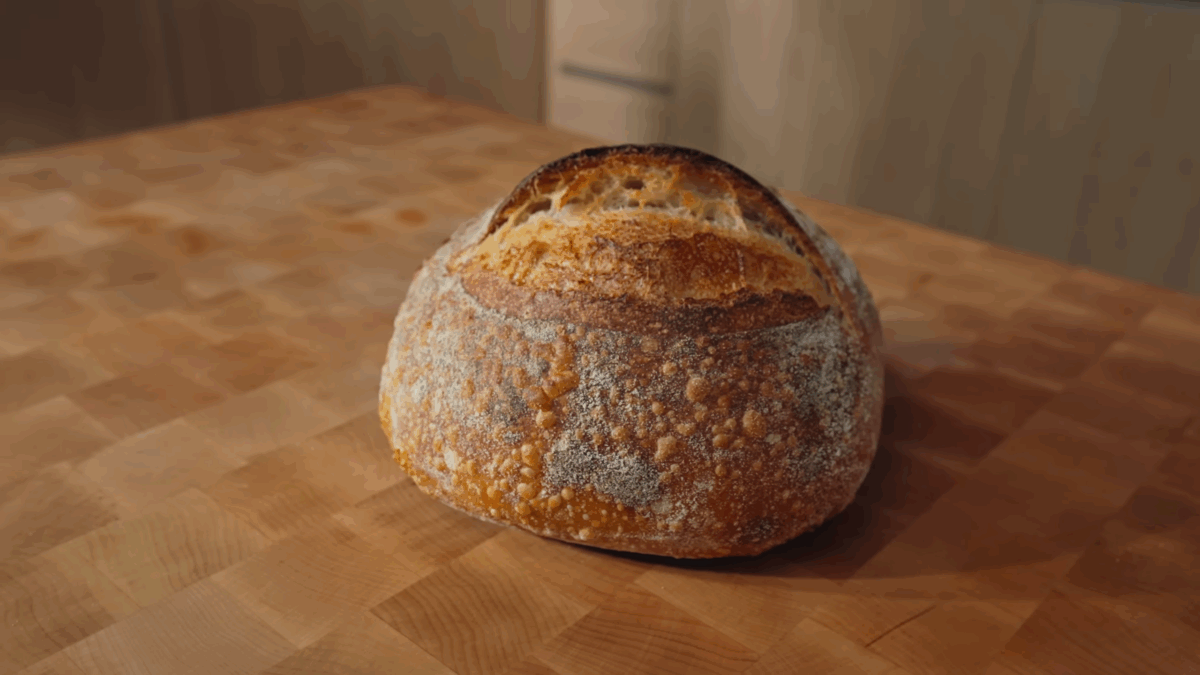
- Prepare. Preheat a Dutch oven at 500°F (260°C) for one hour.
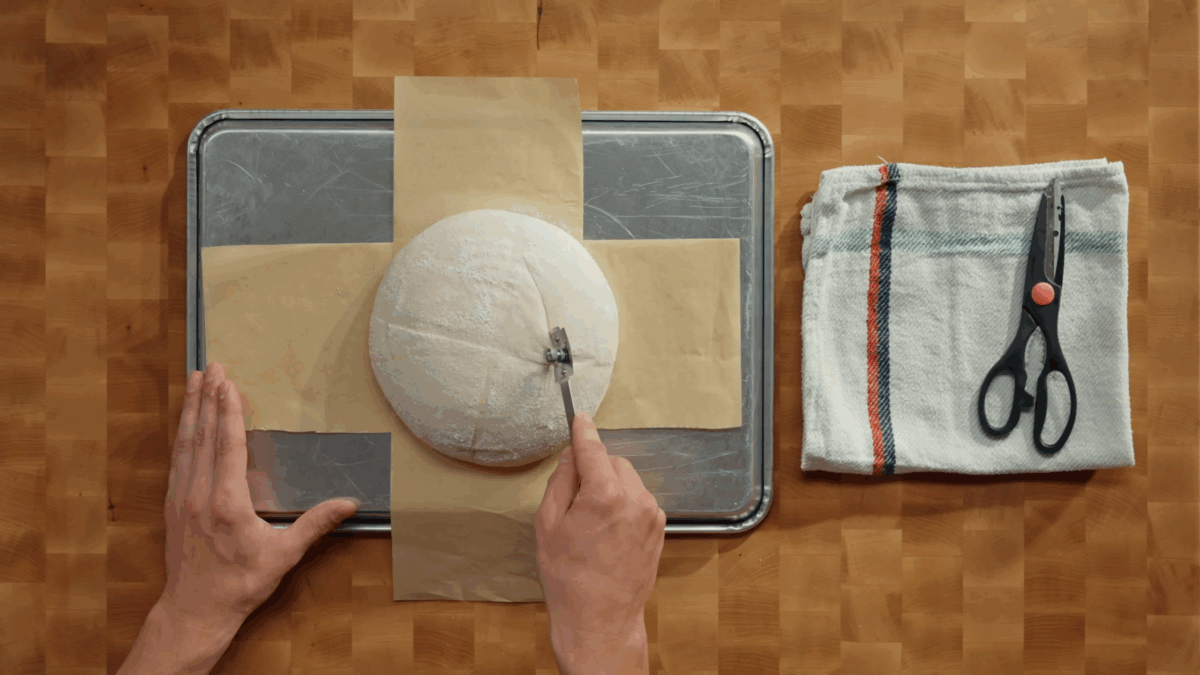
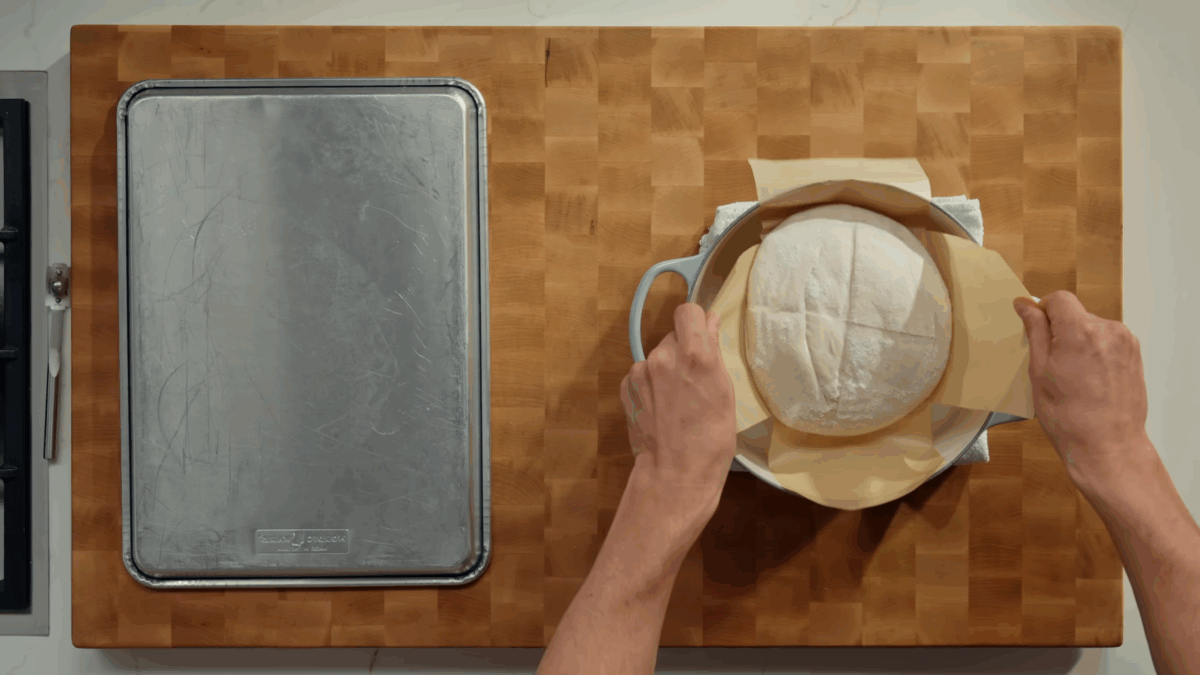
- Score. Transfer the bread dough to parchment, and use a lame, razor blade, or sharp knife to score the top of the dough. Then, carefully place the loaf in a hot Dutch oven.
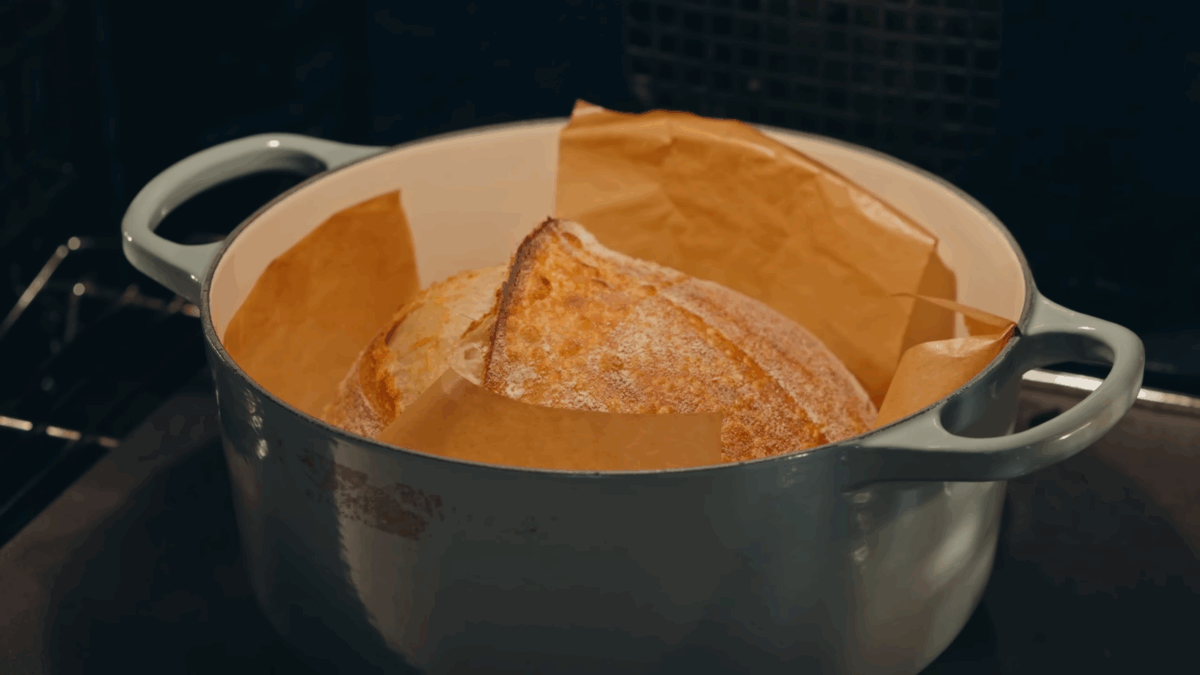
- Bake. Cover the bread, transfer it to the hot oven, and bake for 18-20 minutes, then uncovered for 20-30 minutes, until deep golden brown or the bread reaches an internal temperature of 208°F (98°C).
- Rest. Cool completely before slicing.
Step Eight: Make the Butter
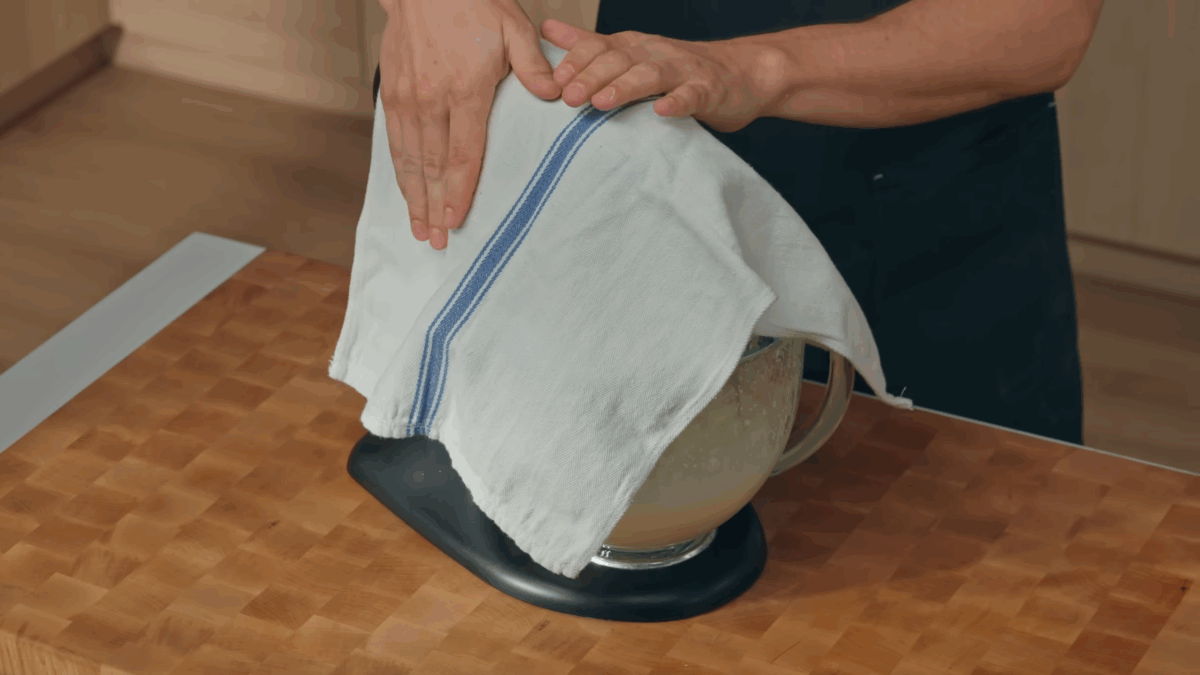
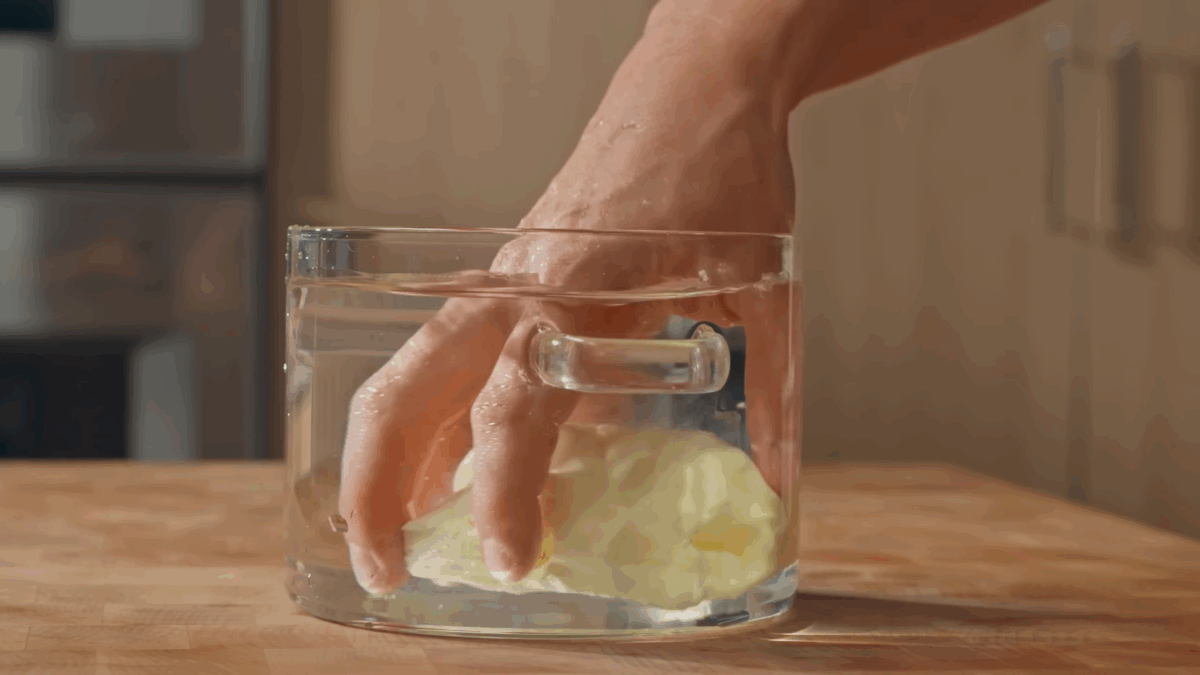
- Whip. In a stand mixer with a whisk attachment, whip the cream on low, increasing to medium-high until it separates.
- Strain. Press out excess liquid.
- Knead. Rinse butter under cold water, then knead in salt.
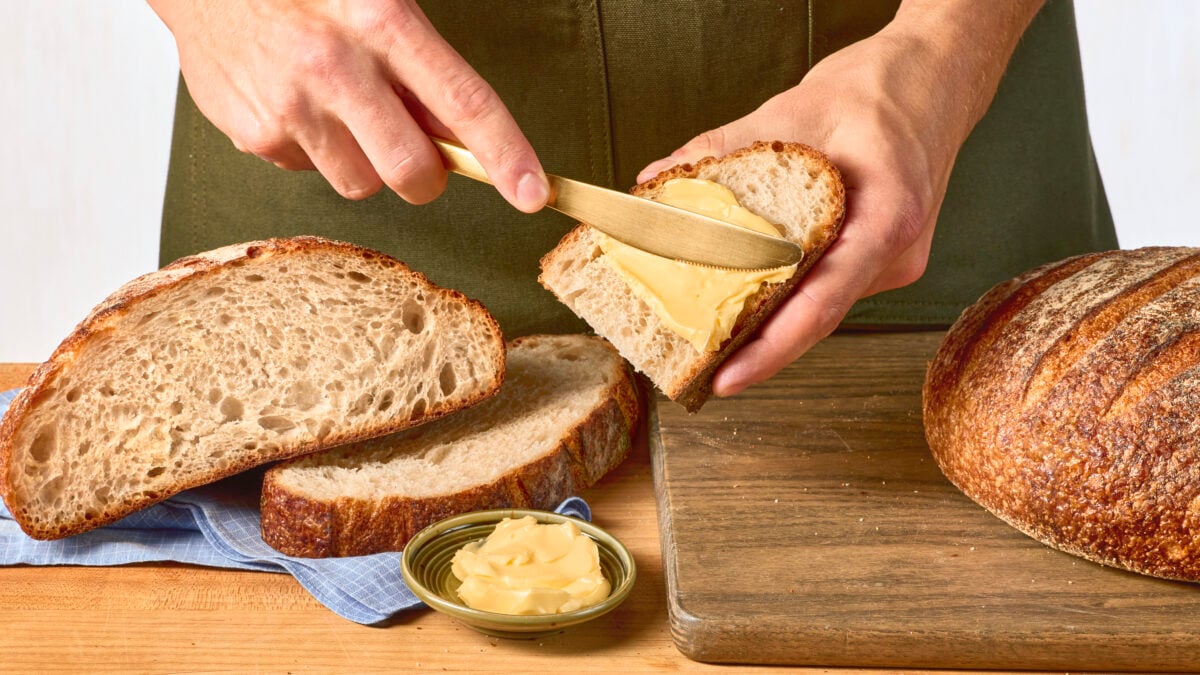
Homemade Sourdough Bread

Equipment
- 1 Large Glass Jar With Lid
- 1 Kitchen Scale
- 5 Mixing Bowls (Medium and Large)
- 1 Mini Whisk or Spoon
- 1 Rubber Spatula
- 1 Bench Scraper
- 1 Clean Tea Towel or Linen Towel
- 1 Proofing Basket (Banneton)
- Plastic Wrap
- 1 Dutch Oven
- Parchment Paper
- 1 Lame or Sharp Knife
- 1 Stand Mixer with Whisk Attachment
- 1 Kitchen Towel
Ingredients
For the Sourdough Starter
- 2 ¾ cup (370 gram) whole wheat flour
- 2 ⅓ cup (290 gram) bread flour
For the Levain
- 1 ½ tablespoon (19 gram) whole wheat flour
- 1 ½ tablespoon (19 gram) bread flour
- 2 ½ tablespoon (38 gram) lukewarm water
- 1 tablespoon (19 gram) starter
For the Bread
- 3 ¼ cup (387 gram) bread flour
- ⅔ cup (83 gram) whole wheat flour
- 1 ½ cups (340 gram) lukewarm water
- 1 ½ teaspoon (9 gram) kosher salt
For the Butter
- 2 cup (480 millileter) heavy cream
- kosher salt, to taste
Instructions
For the Sourdough Starter:
- In a large, clear, tall container with a lid, add 100 gram of whole wheat flour and 125 gram of warm water. Whisk to combine, and set in a warm, draft-free space. If the container has a tight lid, only close it 90% of the way.
- On day two, discard all but 75 gram of the starter, then add 50 gram of whole wheat flour, 50 gram of bread flour, 100 gram of warm water, and whisk to combine. Scrape down the sides of the container with a spatula to remove any excess starter. It is best if the starter is fed generally around the same time every day.
- On day three, repeat the above process.
- On day four, day five, and day six, discard all but 75 gram of the starter, then add 50 gram of whole wheat flour, 50 gram of bread flour, and 100 gram of warm water. Whisk to combine. Repeat this process 12 hours later, feeding twice a day.
- On day seven, discard all but 75 gram of starter, then add 60 gram of warm water, 40 gram of bread flour, and 20 gram of whole wheat flour.
- Repeat this process daily. The starter is generally ready to bake with by day 14, when it begins to triple in size after it is fed.
For the Levain:
- Make sure the sourdough starter has reached its peak (meaning it has tripled in size) when using it in the levain. This is generally three hours after feeding, but varies greatly depending on the temperature of the room.
- In a small glass resealable jar, add all ingredients and whisk together well to combine fully. Cover with a lid, but do not tighten the lid all the way. Place in a warm, draft-free area for several hours, or until tripled in size.
For the Autolyse:
- One hour before the levain is ready to use, add the bread flour, whole wheat flour, and 320 gram of warm water to a medium mixing bowl. Mix with a wooden spoon until no dry spots remain. It will feel like there is not enough water, but keep mixing. It should take several minutes for the water to absorb into the flour.
- Cover with a plate or plastic wrap and leave in a warm, draft-free area.
For the Bulk Ferment:
- Once the levain has tripled in size, add it to the autolyse dough. Sprinkle the salt over top, then add the additional 20 gram of water.
- Using your hands, squeeze the dough through your fingers repeatedly until the mixture is homogeneous, sticky, and tacky. This will take several minutes.
- Cover again and leave for 30 minutes.
- After 30 minutes, begin the folds. Grab a section of dough closest to you, pull upwards until you meet resistance, but the dough does not tear. Fold it away from you, then turn the bowl 90 degrees and repeat until you have made a full circle of three folds.
- Cover and let the dough rest for another 30 minutes.
- Repeat the folding process twice, resting for 30 minutes in between each series of folds.
- After the final fold, let the dough rest for another 30 minutes.
For Pre-Shaping and Shaping:
- Dust a work surface lightly with flour. Using a plastic bench scraper, gently scrape the dough out of the bowl and onto the floured surface.
- Lightly flour your hands and cup the bottom edges of the dough. Using your pinky fingers, gently drag the dough towards you at a 90-degree angle to create a bit of tension on the top of the bread. Repeat this process three to four times, or until a rough boule shape forms.
- Let the dough rest for 30 minutes on a floured surface, uncovered.
- Flour the top of the boule and using your bench scraper, gently flip the dough over. Grab the side of the dough closest to you and fold it halfway up the boule. Then take the right side and fold it halfway into the boule, followed by the left side. Take the final side and pull it over the folds, so it forms a little package. Lightly flour the bottom of the boule, then using the bench scraper, flip it over, seam side down.
- Lightly flour your hands and cup the top of the dough. Using your pinky fingers, gently drag the dough towards you at a 90-degree angle to create a bit of tension on the top of the bread. Repeat this process three to four times, or until the seams on the bottom close and a tighter boule shape forms.
- Leave the boule for a few minutes to form a seal on the bottom to make transferring easier.
For the Bulk Rise:
- Line a brotform (wooden bread basket) with a thin tea towel. Lightly dust the interior with white rice flour.
- Using the bench scraper, carefully transfer the bread, seam side up, into the basket. Place the basket in a large plastic bag, and tie it closed. Let it sit at room temperature for 20 minutes.
- Transfer to the refrigerator for a minimum of 12 hours, or up to 18 hours.
For Baking:
- One hour before you are ready to bake, place a Dutch oven in the oven and preheat to 500°F (260°F). Preheat the dish for one hour.
- Right before baking, remove the bread from the refrigerator.
- Cut a piece of parchment in half, length-wise, and form an X with the two pieces. Place that on an inverted sheet tray, then place the sheet tray over the bread basket. Gently flip the bread out onto the parchment.
- Using a lame or a sharp paring knife, cut a six-inch vertical slice, a little more than ¼ inch (.6 centimeter) deep, just off from the center of the boule.
- Remove the Dutch oven from the oven and quickly transfer the bread using the parchment pieces. Cover and bake for 18-20 minutes, or until just barely golden brown in places.
- Remove the lid and bake for another 20-30 minutes, or until the surface of the bread is deep brown, or the internal temperature reaches 208°F (98°F).
- Remove from the oven, then remove the bread from the Dutch oven. Let it cool for two to three hours, or until room temperature.
For the Butter:
- In the bowl of a stand mixer fitted with the whisk attachment, add the cream. Whip the cream on a low speed until it starts to slowly thicken.
- Gradually increase the speed of the mixer to medium-high and whip for five to seven minutes, or until the cream separates and begins to form clumps.
- Once the mixture has fully separated, remove the butter pieces and squeeze into a ball.
- Press out any additional liquid, then rinse under cold water.
- Transfer to a cutting board and flatten the butter out into a rectangle. Add the salt, then fold the butter continuously, or until the salt is incorporated.
- Set aside until ready to use.
Video

Notes
- Nutrition information does not include butter.
- This recipe is best made as written. Doubling or tripling the ingredients can throw off fermentation times and make the dough more difficult to manage, which may affect the bread’s texture and rise.
- Starter prep takes about two weeks, but once established, it can be maintained indefinitely with regular feedings.
- For the best results, weigh ingredients with a kitchen scale.
– Sourdough Bread: Store at room temperature in a paper or linen bag for two to three days. For longer storage, slice and freeze in a freezer-safe bag for up to three months. Reheat slices in the toaster or a warm oven. Avoid the fridge, as it dries bread out quickly.
– Homemade Butter: Store in an airtight container in the refrigerator for up to one week, or freeze for up to two months. Bring to room temperature before spreading for best texture.
Nutrition
Nutrition information is automatically calculated, so should only be used as an approximation.
 Like this recipe? Rate & comment below!
FAQs
It should double or triple in size within four to six hours after feeding and pass the “float test” (a spoonful floats in a glass of water).
Yes. If you don’t have a Dutch oven, you can bake sourdough on a preheated baking stone with a metal pan of water below it to create steam.
Technically, you can use all-purpose flour, but I don’t recommend it. Bread flour gives the best structure and creates a slightly chewy texture.
the bread is crunchy at the top and soft inside I loved the taste
I’m on day six of your recipe and I’ve always measured everything out I use filtered warm water , unbleached flours, and leave it in a warm spot but I’m only seeing little bubbles on top but no growth even though it’s smells about right so when am I supposed to see the growth ?
It sounds like you’re doing everything right. Around day six, it’s totally normal for the starter to smell right but still look a little sluggish. Sometimes it just needs a few more days to build strength! Try feeding it twice a day for the next couple of days and watch for it to start doubling in size within 4-6 hours after a feeding. Once you see that rise and fall pattern, it’s ready to bake. Hope this helps!
What are the measurements for flour?
All the measurements are listed in the recipe card at the bottom of the post! Happy to answer any questions about specific measurements.
What size proofing basket is used for this recipe?
For this recipe, I use a 9-inch (about 8-9 inch / 22-23 cm) round proofing basket, which fits a dough weight of around 750g-900g. If your dough is on the larger side, a 10-inch basket works great, too. Just make sure it has room to rise without overflowing.