Learn how to make homemade croissants with crisp, flaky layers and a rich, buttery interior that pulls apart with just the right amount of resistance. My step-by-step recipe walks you through the full lamination process, from building the dough to folding, resting, and baking, so you can achieve bakery-quality croissants at home. It’s a slow, intentional process, but the payoff is huge, resulting in deeply golden croissants that look as good as they taste and are absolutely worth the time they take to make!

I’ve been dreaming about French croissants ever since I first traveled to France. With a crisp exterior, buttery center, and rich flavor, they just aren’t the same anywhere else. However, rather than jumping on a plane, I wanted to see if I could recreate that experience at home. So, I broke the process down step by step and tested it until it felt approachable while staying true to the real thing. You don’t need special tools, just a bit of patience.
If you’ve been intimidated to try croissants at home, you’re not alone. The process can feel intimidating, but I’ll walk you through exactly how I make bakery-style croissants, from laminating the dough to baking them into golden, flaky perfection. It’s a labor of love, but by the time they come out of the oven, it’ll feel like you’ve stepped into a fancy Parisian bakery, no passport required.
Ingredients and Notes
See the recipe card below for the complete ingredient list and instructions.
For the Dough
- Flour – A combination of all-purpose flour and bread flour gives the croissants structure while keeping them tender and light.
- Sugar – Granulated sugar lightly sweetens the dough and promotes even browning.
- Salt – This enhances the flavor of the dough.
- Yeast – Active dry yeast provides a steady rise, leading to stable croissants. Make sure it’s fresh!
- Whole Milk – This adds richness and contributes to the tender consistency.
- Unsalted European Butter – If you can’t find true European butter, use European-style butter, which has a higher butterfat content (typically 82-86%) than American butter (80%). Mixed directly into the flour, this adds tenderness and flavor, contributing to the beautiful cross-section.
For the Butter Block & Assembly
- European Butter – This is crucial for the lamination process, creating cleaner layers and flakier homemade croissants. American-style butter won’t create the same results.
- Flour – All-purpose flour helps with rolling the dough.
- Egg Yolk and Heavy Cream – Whisked together, this gives the croissants a deep, golden brown finish.
How to Make Homemade Croissants
1. Prepare the Dough
2. Combine the Butter and Dough
3. Shape and Bake

Nick’s Tips for Success
- Be precise. Use a ruler to measure the dough, creating perfectly shaped rectangles at every stage of this homemade croissant recipe.
- Keep everything cold, but flexible. Temperature control is the most important part of making croissants. The dough should feel cool and firm, and the butter should be pliable but not soft. If the butter starts to smear or melt at any point, pause and chill the dough before moving on.
- Measure by weight, not volume. Like any baked good, the key to the best croissants is in measuring the ingredients accurately. Using a scale ensures consistent dough hydration, even layers, and predictable results every time.
- Don’t rush the resting times. The chill periods between folds aren’t optional. They relax the gluten and keep the butter solid. Skipping or shortening rests will make the dough tight and the layers uneven.
- Roll with intention, not force. Apply even pressure when rolling and lift the dough frequently to prevent sticking. Forcing the dough can tear layers and ruin the lamination.
- Square edges equal better layers. Keeping straight edges and sharp corners when rolling and folding isn’t just for looks. It helps ensure consistent layering and an even rise when baked.
- Proof slowly in the oven. A warm proof will melt the butter and lead to dense instead of flaky croissants. Aim to keep the oven between 70-75°F (21-24°C), and resist the urge to speed things up.
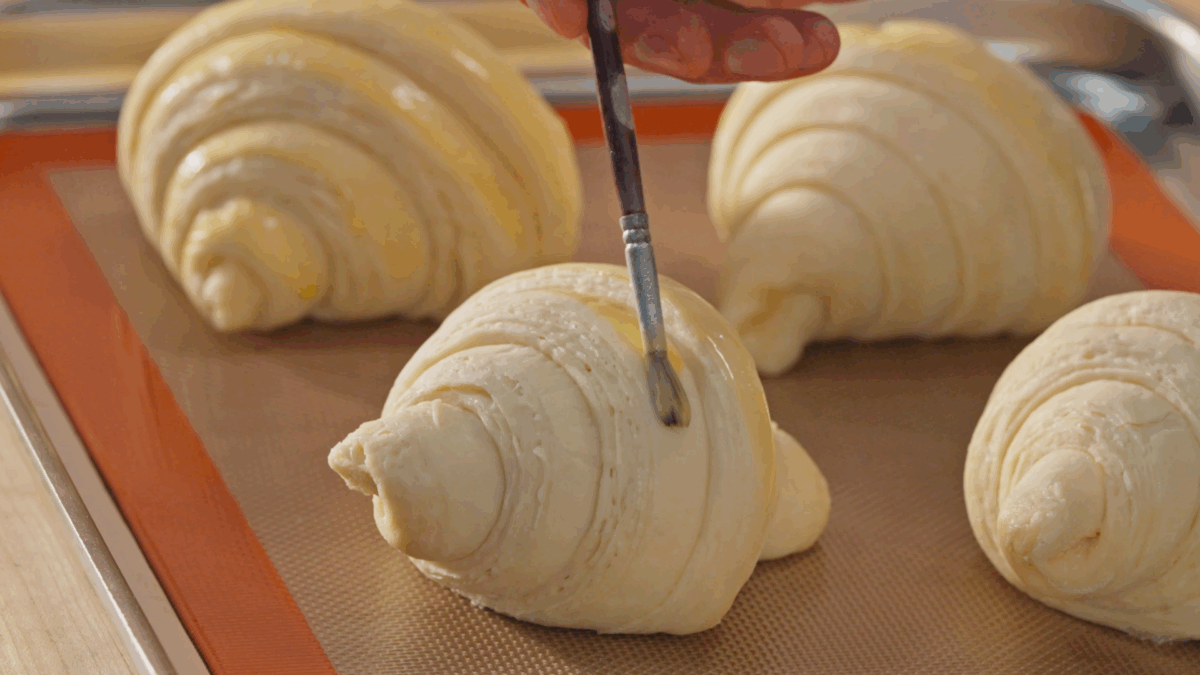
- Brush lightly with egg wash. Stick to the tops only, and avoid exposed cut sides so the layers can fully expand in the oven. I use a small paintbrush!
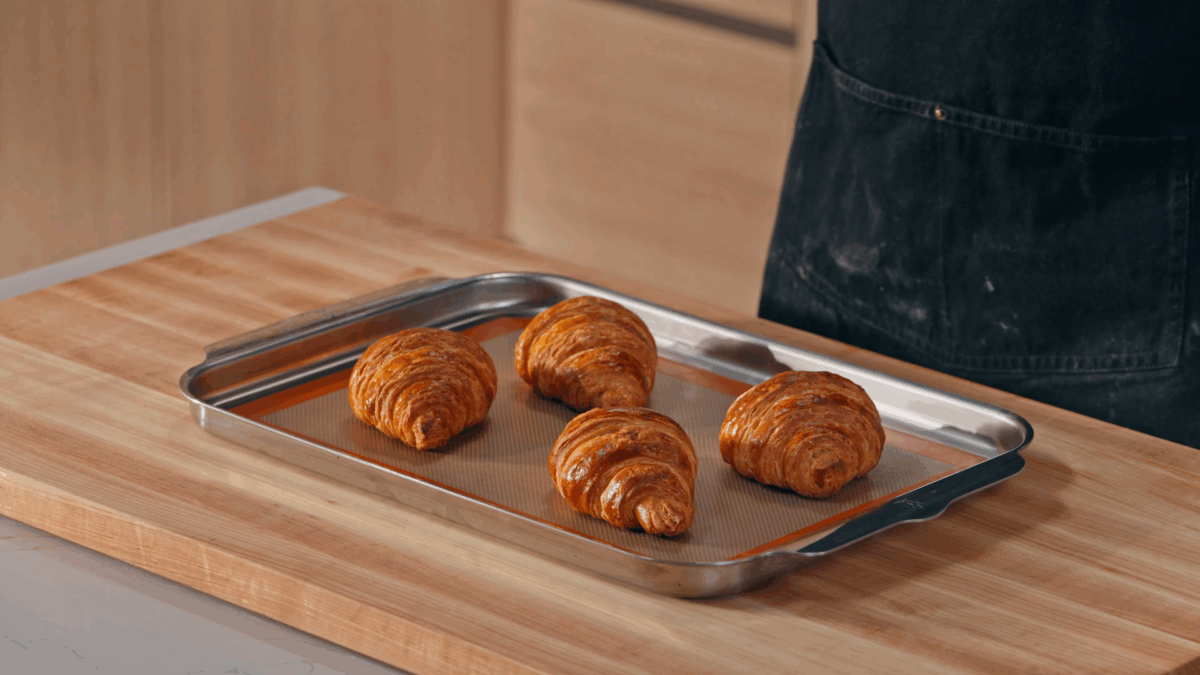
- Bake until deeply golden. Underbaked croissants won’t be flaky. You’re looking for a dark, even golden color for the best texture and flavor. Every oven varies. So, keep a close eye on the croissants and adjust as needed.

Homemade Croissant Recipe

Equipment
- 1 Stand Mixer Fitted with a Dough Hook
- 1 Rolling Pin
- 1 Bench Scraper or Dough Cutter
- 1 Ruler
- 1 Plastic Wrap
- 1 Parchment Paper
- 1 Pastry Brush
- 2 Baking Sheets
- 1 Skillet
Ingredients
For the Dough (Détrempe)
- 303 gram (2½ cup) all-purpose flour
- 302 gram (2½ cup) bread flour
- 66 gram (⅓ cup) granulated sugar
- 12 gram (1 tablespoon + ½ teaspoon) kosher salt
- 7 gram (2¼ teaspoon) active dry yeast
- 214 gram (¾ cup + 2 tablespoon) water, room temperature
- 120 gram (½ cup) whole milk, room temperature
- 57 gram (¼ cup) unsalted European or European-style butter, cut into ½-inch pieces, chilled
For the Butter Block & Assembly
- 340 gram (3 stick / 1½ cup) unsalted European or European-style butter, chilled
- all-purpose flour, for rolling
- 1 large egg yolk
- 15 milliliter (1 tablespoon) heavy cream
Instructions
For the Dough
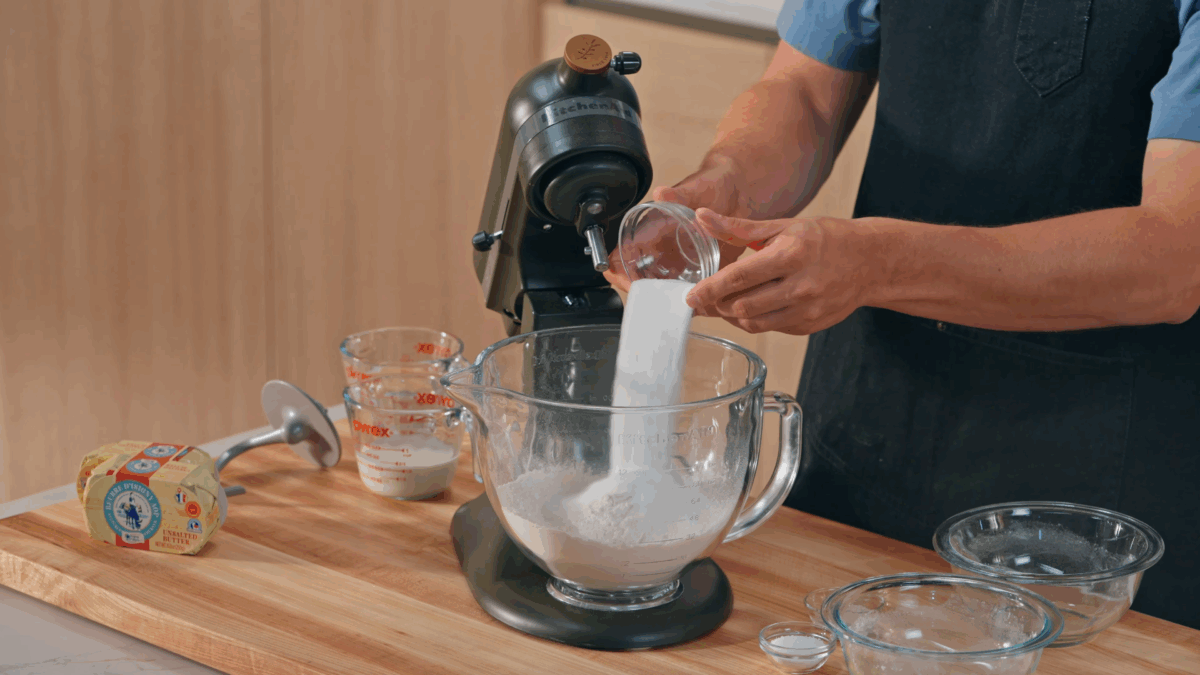
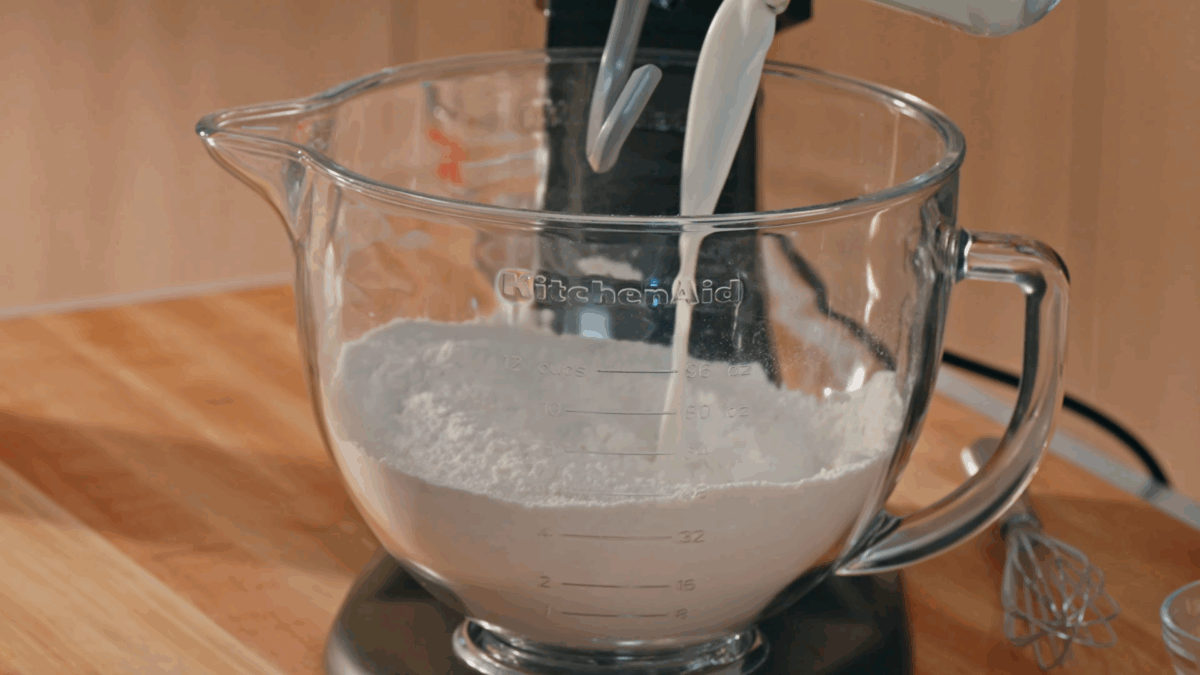
- Build the dough base (24 hours before eating). In the base of a stand mixer fitted with the dough hook, add 303 grams of flour, 302 grams of bread flour, 66 grams of sugar, 12 grams of salt, and seven grams of active dry yeast. Mix to combine. Make a well in the flour mixture, then pour in 214 grams of water and 120 grams of whole milk. Mix on medium-low until you’ve got a tight, raggedy ball (about five minutes). Remove the hook, and cover the bowl with a damp towel. Let the dough rest for ten minutes. (The ten-minute rest is like a mini spa day for your gluten — it relaxes the dough so it rolls out easier later.)
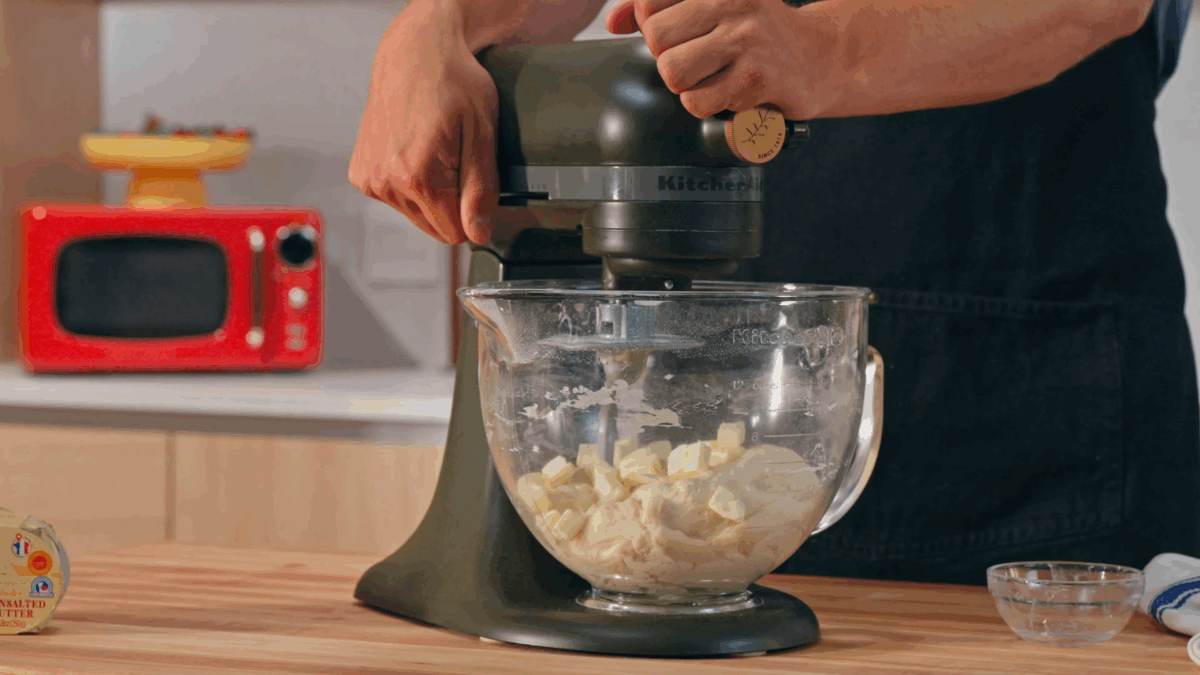
- Place the hook back on the stand mixer. With the mixer on medium-low, add 57 grams of unsalted European butter, cut into ½-inch pieces. Mix until the dough is silky, elastic, and not sticky, eight to ten minutes. If the dough looks greasy, you’ve overmixed. Stop as soon as it’s smooth and stretchy.
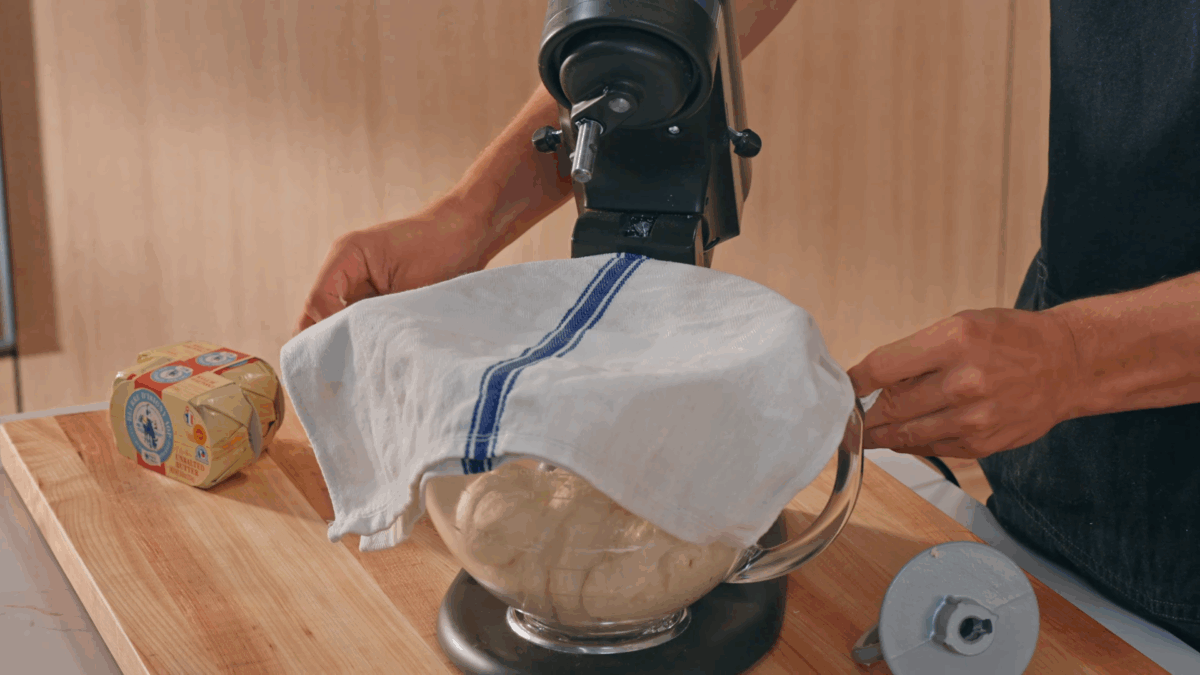
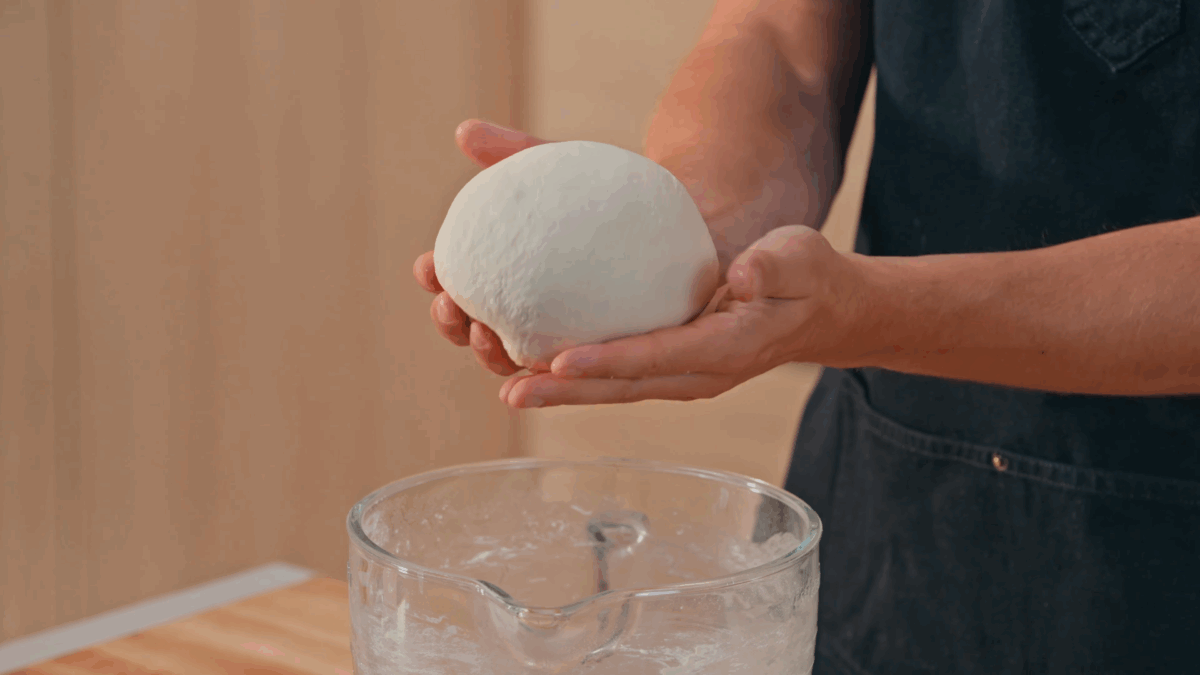
- Form the dough into a ball and place it seam-side down in the mixing bowl. Cover with a damp towel or plate. Place the covered bowl in the refrigerator and chill for at least four hours, and up to 12 hours.
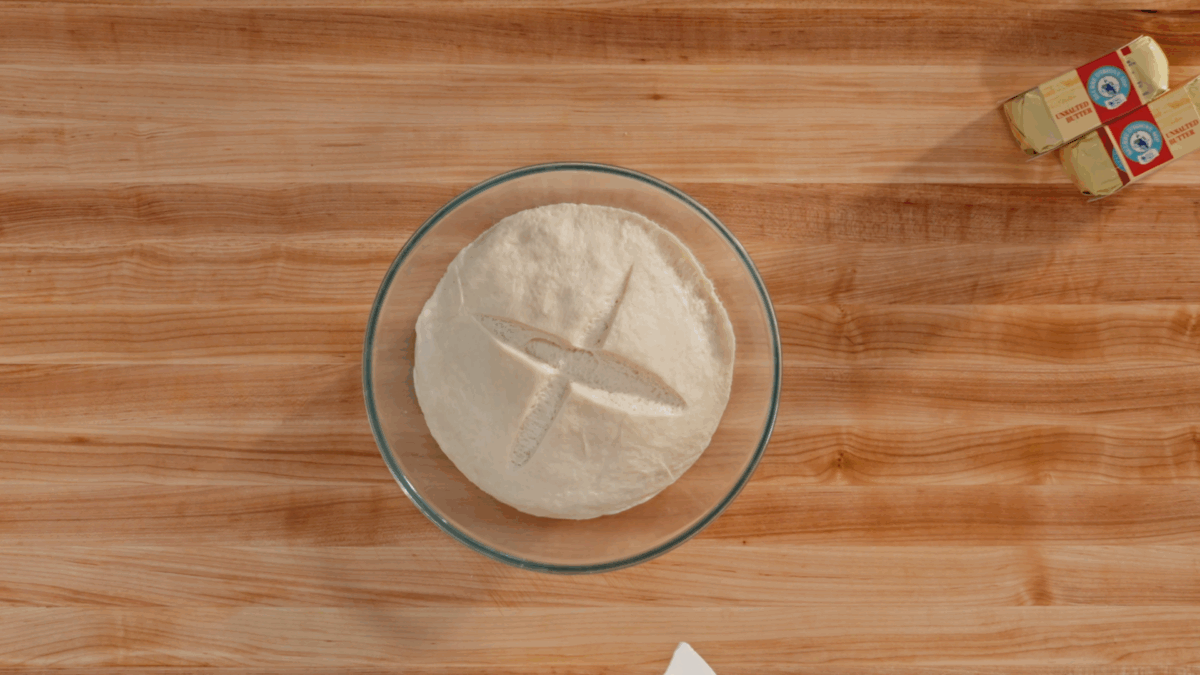
- Using a sharp knife or kitchen shears, cut an “X” in the rested dough. Let rise at room temperature until about one and a half times its original size, about one to two hours. This will help the dough rise into a square shape and make it easier to roll out later.
For the butter block and assembly
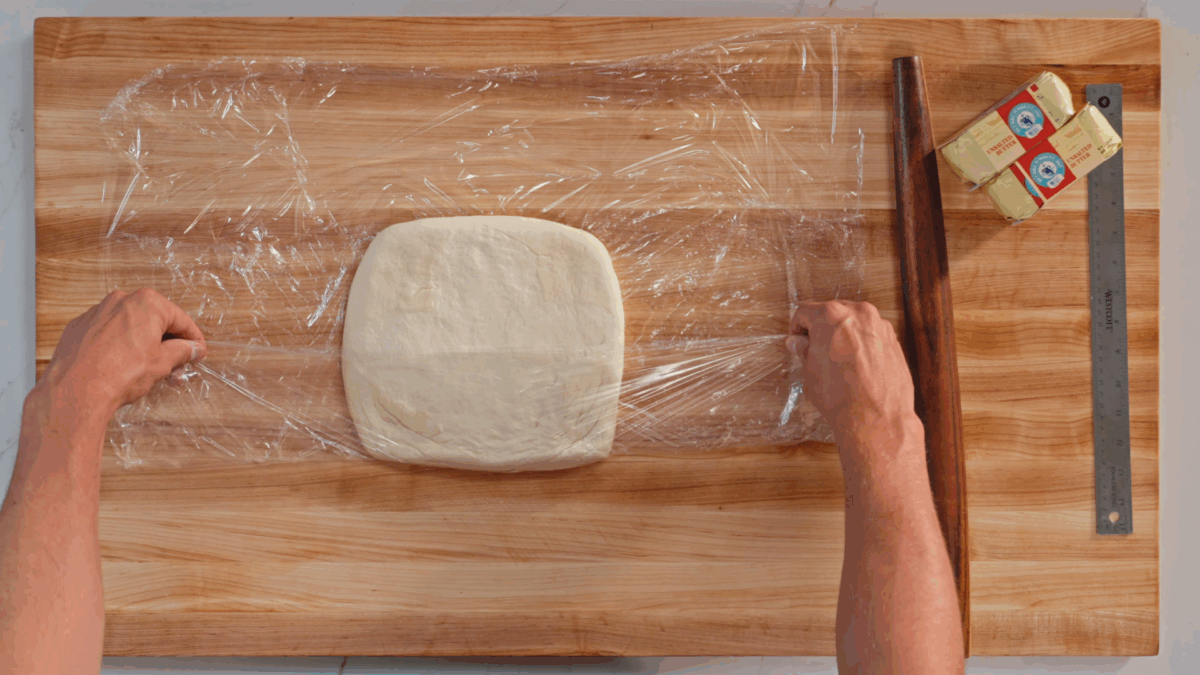
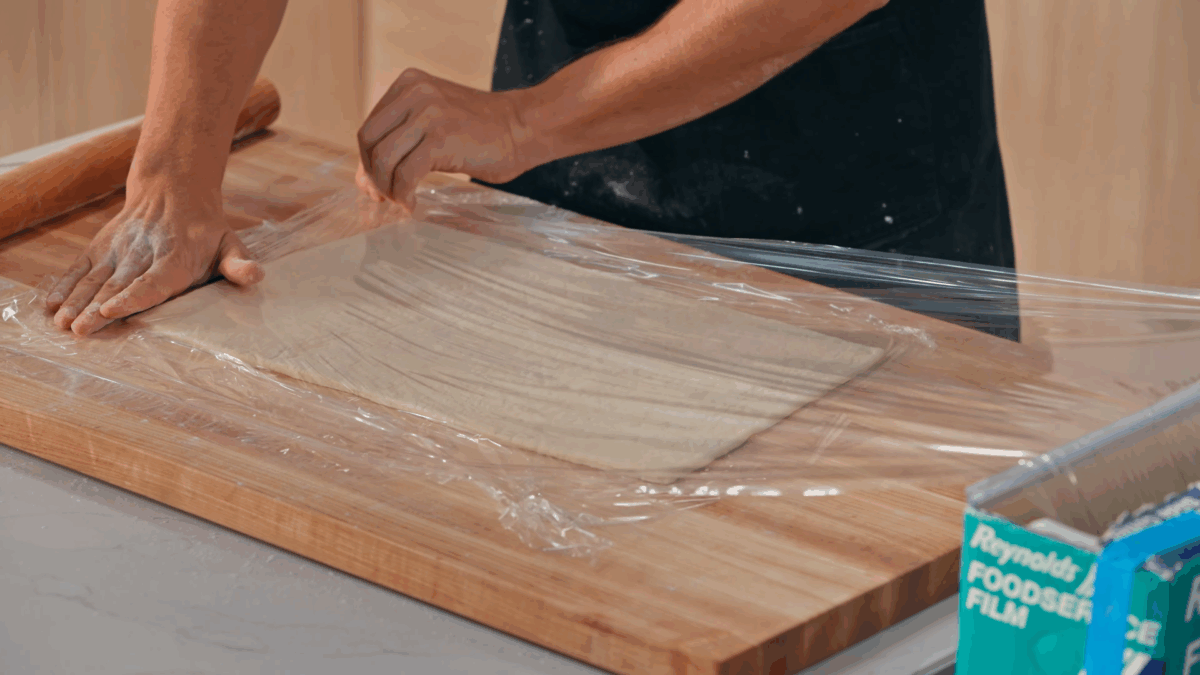
- 18 hours before eating, lay out three large pieces of plastic wrap — all facing the same direction. Place the dough square in the center. Fold the plastic wrap around the dough, like a gift, and flip it over. Using a rolling pin, roll the dough into the corners of the plastic wrap. Rolling inside the wrap helps achieve another perfect eight-inch square with straight sides and right angles. Freeze the dough for 25 minutes.
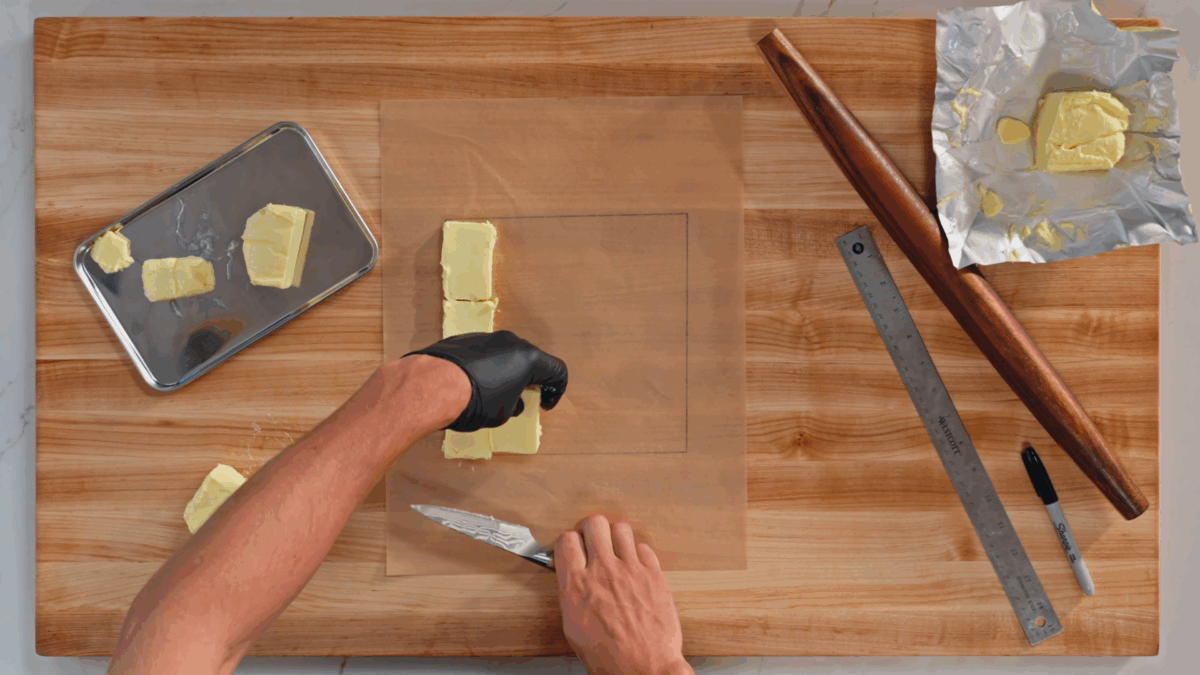
- Butter block. Meanwhile, place two 13 X 18 pieces of parchment paper on a clean work surface. Using a sharpie and a ruler, draw an eight-inch square on one piece of parchment. Place the butter pieces side by side in the center of the square between the parchment sheets. Ensure the square is on top, and use a rolling pin to tap and roll the butter into a half-inch-thick, eight-inch square. Try to avoid air pockets and keep the edges as straight as possible — the more precise now, the flakier your croissants will be later. Once a perfect butter square is achieved, wrap the butter between the parchment, like a gift. Refrigerate.
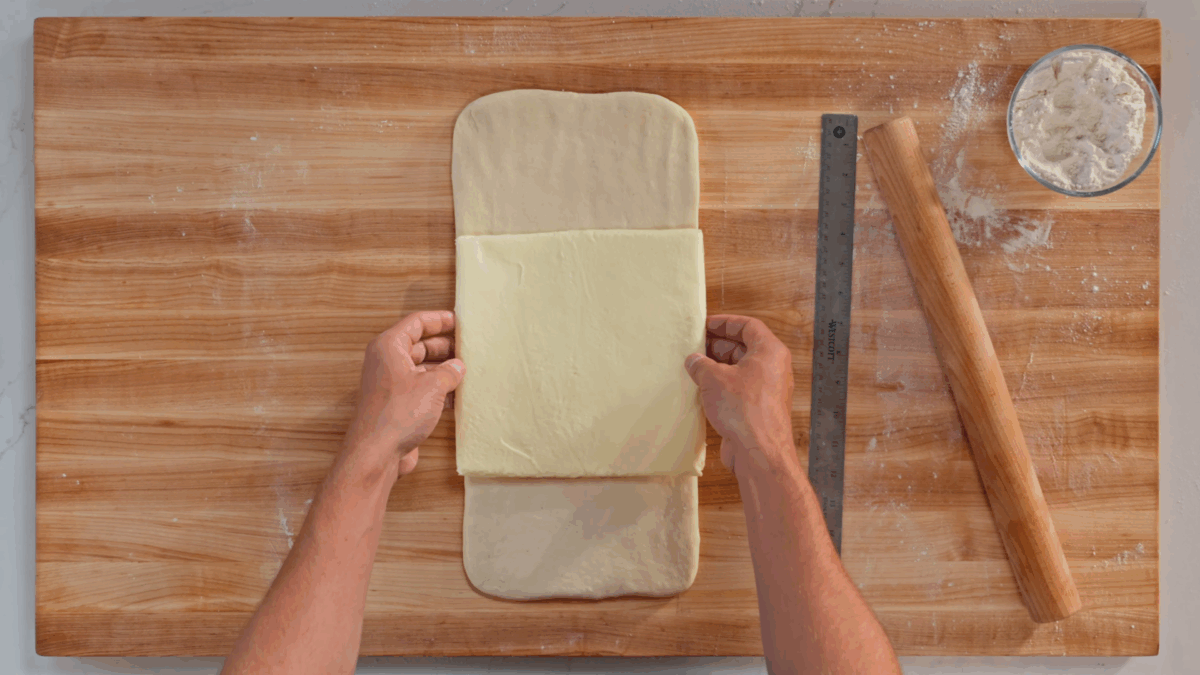
- Combine the butter and dough. The goal is to have slightly colder dough than butter. If the butter is too cold, it shatters; if the dough is too warm, the butter melts. Remove the dough from the freezer and, on a lightly floured surface, roll it out into a 16 x 8-inch rectangle. Maintain sharp edges and right angles. Remove the butter from the fridge and unwrap it. Place the butter in the center of the dough.
- Make a butter packet. Fold the edges of the dough to meet in the center over the butter. The dough should touch, but not overlap. Pinch all seams together (center, top, and bottom) to fully conceal the butter. Lift the butter packet and dust off any flour. Place it seam-side vertical. Roll the packet lengthwise into a ¼-inch thick, 24-inch long rectangle. Lift and move the dough often while rolling — sticking and ripping will compromise the layers. Keep edges straight and corners at right angles. Trim any ragged edges.
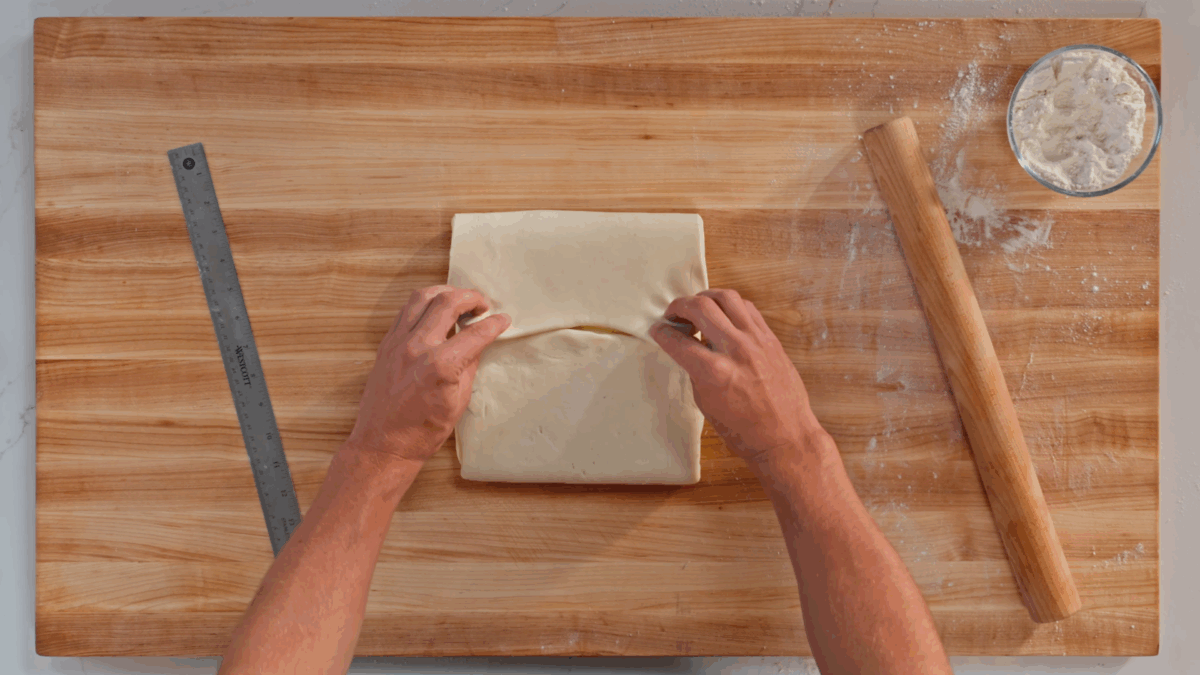
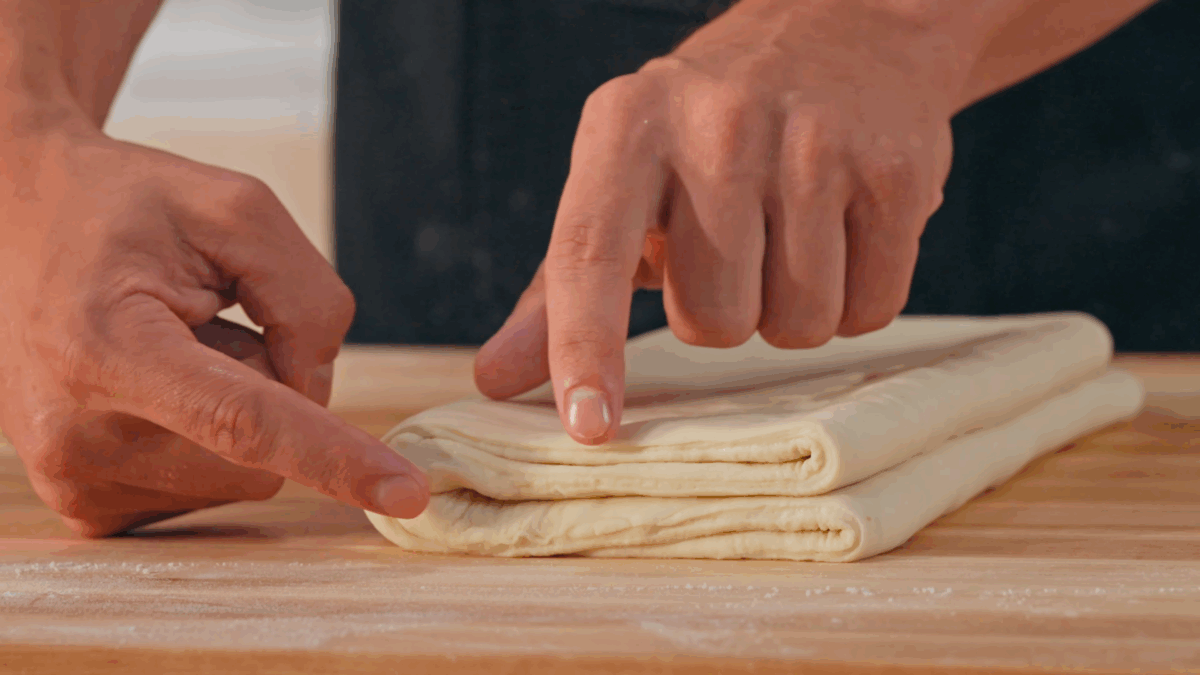
- Make a book fold. Fold the short ends of the dough to meet in the center, leaving a tiny gap in between. Then fold the dough in half like a book. This first fold is a double turn, quadrupling the layers — four layers in one step. Wrap in plastic wrap, freeze for 20 minutes, then refrigerate for one hour.
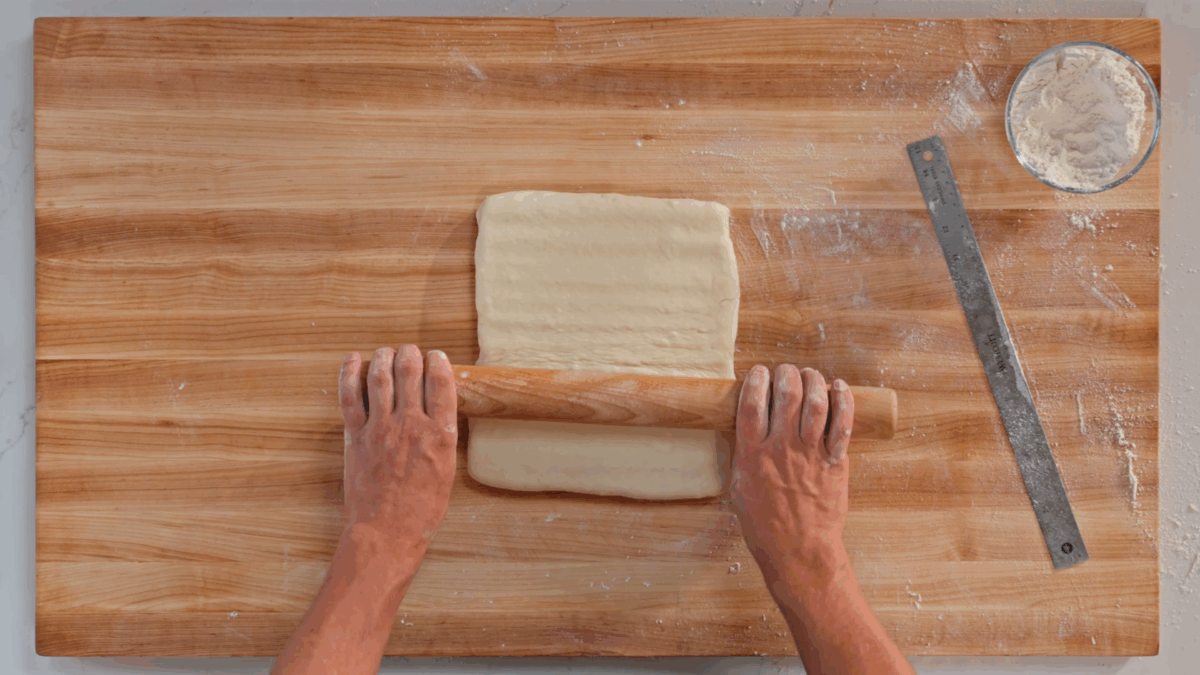
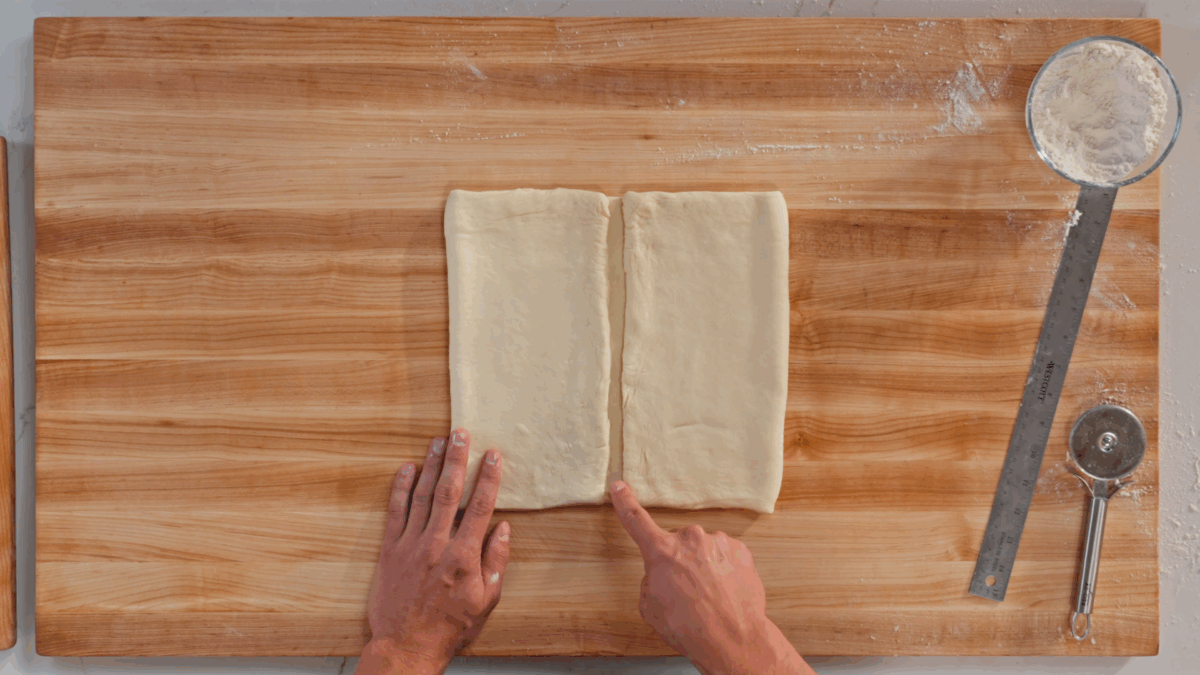
- Make the letter fold. Remove the dough from the fridge, and tap with a rolling pin to flatten. If any air pockets appear, pierce them with a toothpick or cake tester. Roll the dough into a long rectangle, ⅜-inch thick. Fold in thirds, like a letter. Pull on the edges to square them if they're rounded. Wrap tightly in plastic wrap and use a rolling pin to straighten the edges inside the wrapping. Freeze for 20 minutes, then refrigerate for one hour.
- Roll and rest. Remove from the fridge and tap with a rolling pin to flatten. Roll the dough into a perfect 14 x 17-inch rectangle, with straight edges and 90° angles. Wrap in plastic wrap, freeze for 20 minutes, then refrigerate overnight or for at least eight hours.
- Shape the croissants (about five hours before eating). Make a proofing oven: move oven racks to the upper and lower thirds. Heat water to a simmer in a skillet, then place the skillet on the oven floor and close the door. Line two baking sheets with parchment or Silpat liners.
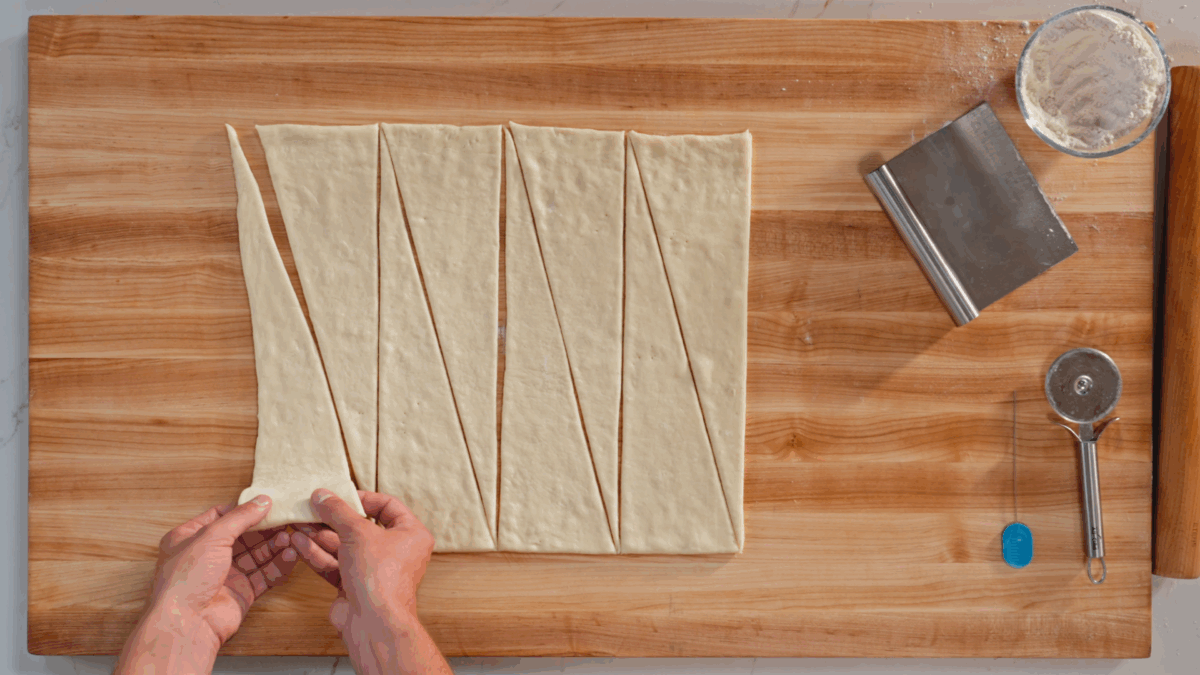
- Remove the dough from the refrigerator and let it rest for five minutes. Roll to 17 x 14 inches. Trim uneven edges where butter and dough don’t line up. Trim to a perfect 16 x 14 rectangle. Using a dough cutter and ruler, cut into four four-inch wide strips. Then cut each strip corner-to-corner into two triangles. Slightly trim the base of each triangle at a gradual angle. Stretch the base to three inches wide and gently lengthen the dough toward the tip. If the dough gets too soft, freeze briefly — better to pause than smear butter.
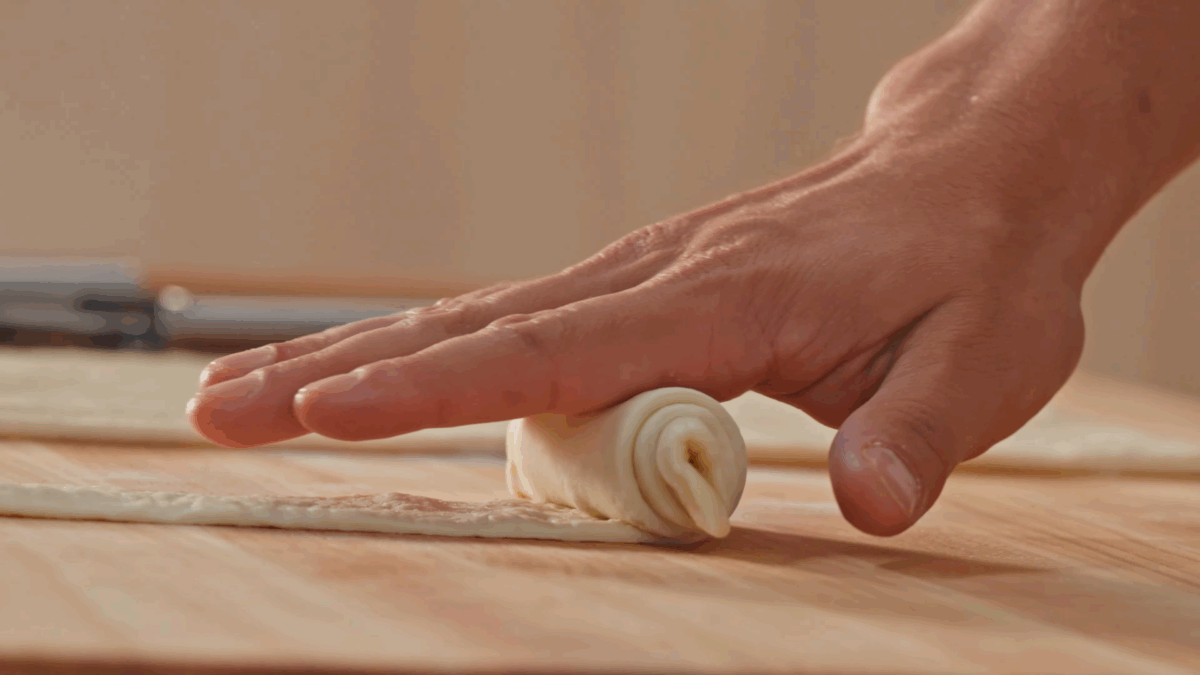
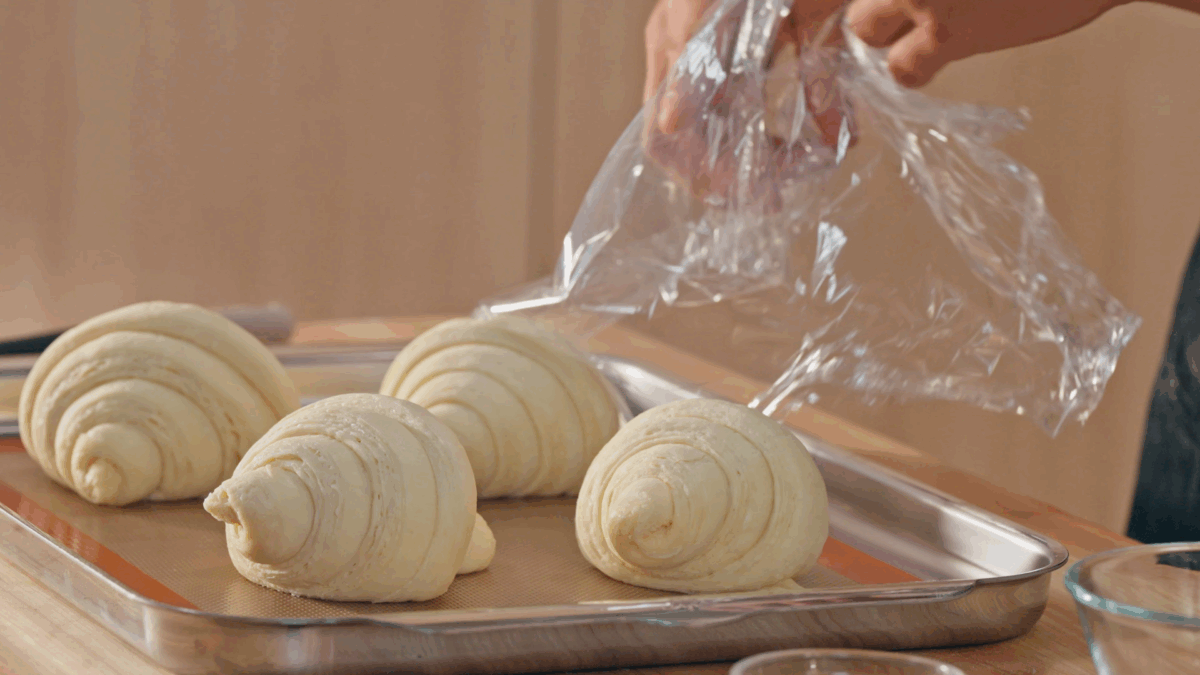
- Roll each crescent from base to tip, concealing the tip underneath. Place on prepared sheet pans, four rolls per pan. Loosely cover with plastic wrap. Place pans in the proofing oven (70–75°F or 21-24°C). Any hotter, and the butter melts, leading to dense croissants. Proof two to two and a half hours, until doubled, puffy, and jiggly. Resist poking — they’re delicate.
- Once proofed, uncover and refrigerate croissants for 20 minutes. Preheat the oven to 350°F (177°C). Mix one large egg yolk and one tablespoon of heavy cream until smooth. Brush tops (not exposed cut sides) with egg wash.
- Bake for 25 minutes. Rotate pans, then bake 10–15 minutes more, until golden brown. Cool on the sheet pan. Eat within two hours for the best flavor. To revive later, reheat in a 325°F (163°C) oven for five to eight minutes.
Video

Notes
Nutrition
Nutrition information is automatically calculated, so should only be used as an approximation.
 Like this recipe? Rate & comment below!
FAQs
Butter leakage usually means the croissants were proofed too warm or the butter and dough weren’t at a similar temperature during lamination. Proofing above 75°F (24°C) can cause the butter to melt before the dough sets.
Yes. The dough can be frozen after lamination or after shaping. Freeze tightly wrapped for up to one month. Thaw overnight in the refrigerator before proofing and baking.
Properly proofed croissants will appear visibly puffy, jiggle lightly when the pan is shaken, and show clearly defined layers. Avoid pressing them with your finger, as this can deflate the structure.
Lack of flakiness usually comes from over-proofing, under-proofing, warm butter, or rushing the chill times between folds. Precise rolling and resting make a big difference.
Technically, you can substitute instant yeast using the same weight, but I don’t recommend it. Instant yeast does not need activation and can be mixed directly into the dough, but it often creates an overly elastic dough.

I love this recipe!!!!!!!!!!!!!!!!!!!!!!!!!!!!!!!
Very good. But my croissants turned out sort of flat
I love this recipe its so good!!
the best croisants ive every had
the brat croisants ive every had
I mean I am stuck why is the butter coming out of my dough
Butter leaks when it melts instead of staying in layers, which usually means the dough got too warm during rolling or proofing. Keep the dough slightly colder than the butter and chill it anytime it softens to prevent it from squeezing out. Hope this helps!
I watched the video, and those look amazing! I’ll be making them myself ASAP!
My family loved these and had a lot of fun learning how to make the dough!